White Label is currently in limited access. Contact whitelabel@zapier.com to learn more.
How billing works
You (the partner) are billed per task executed. Your end users have no direct relationship with Zapier and are never billed by Zapier. You can price and package the automation capability however works for your business.Pick your surface
White Label supports three product surfaces. You can build one or all of them depending on your use case.| Surface | What your users do | Good fit if… |
|---|---|---|
| Embedded actions | Connect an app account, then your product calls actions via API | You want to orchestrate automations yourself and just need app connectivity |
| Embedded workflows | Create and manage trigger-action workflows (Zaps) inside your product | You want users to build their own automations without leaving your app |
| AI agent connections & automations | Connect apps so an AI agent can call tools via Zapier MCP or SDK | You’re building an AI product and need it to act on third-party apps |
Where Zapier branding shows up (and what you can control)
Two surfaces show Zapier or third-party branding during the connection flow:-
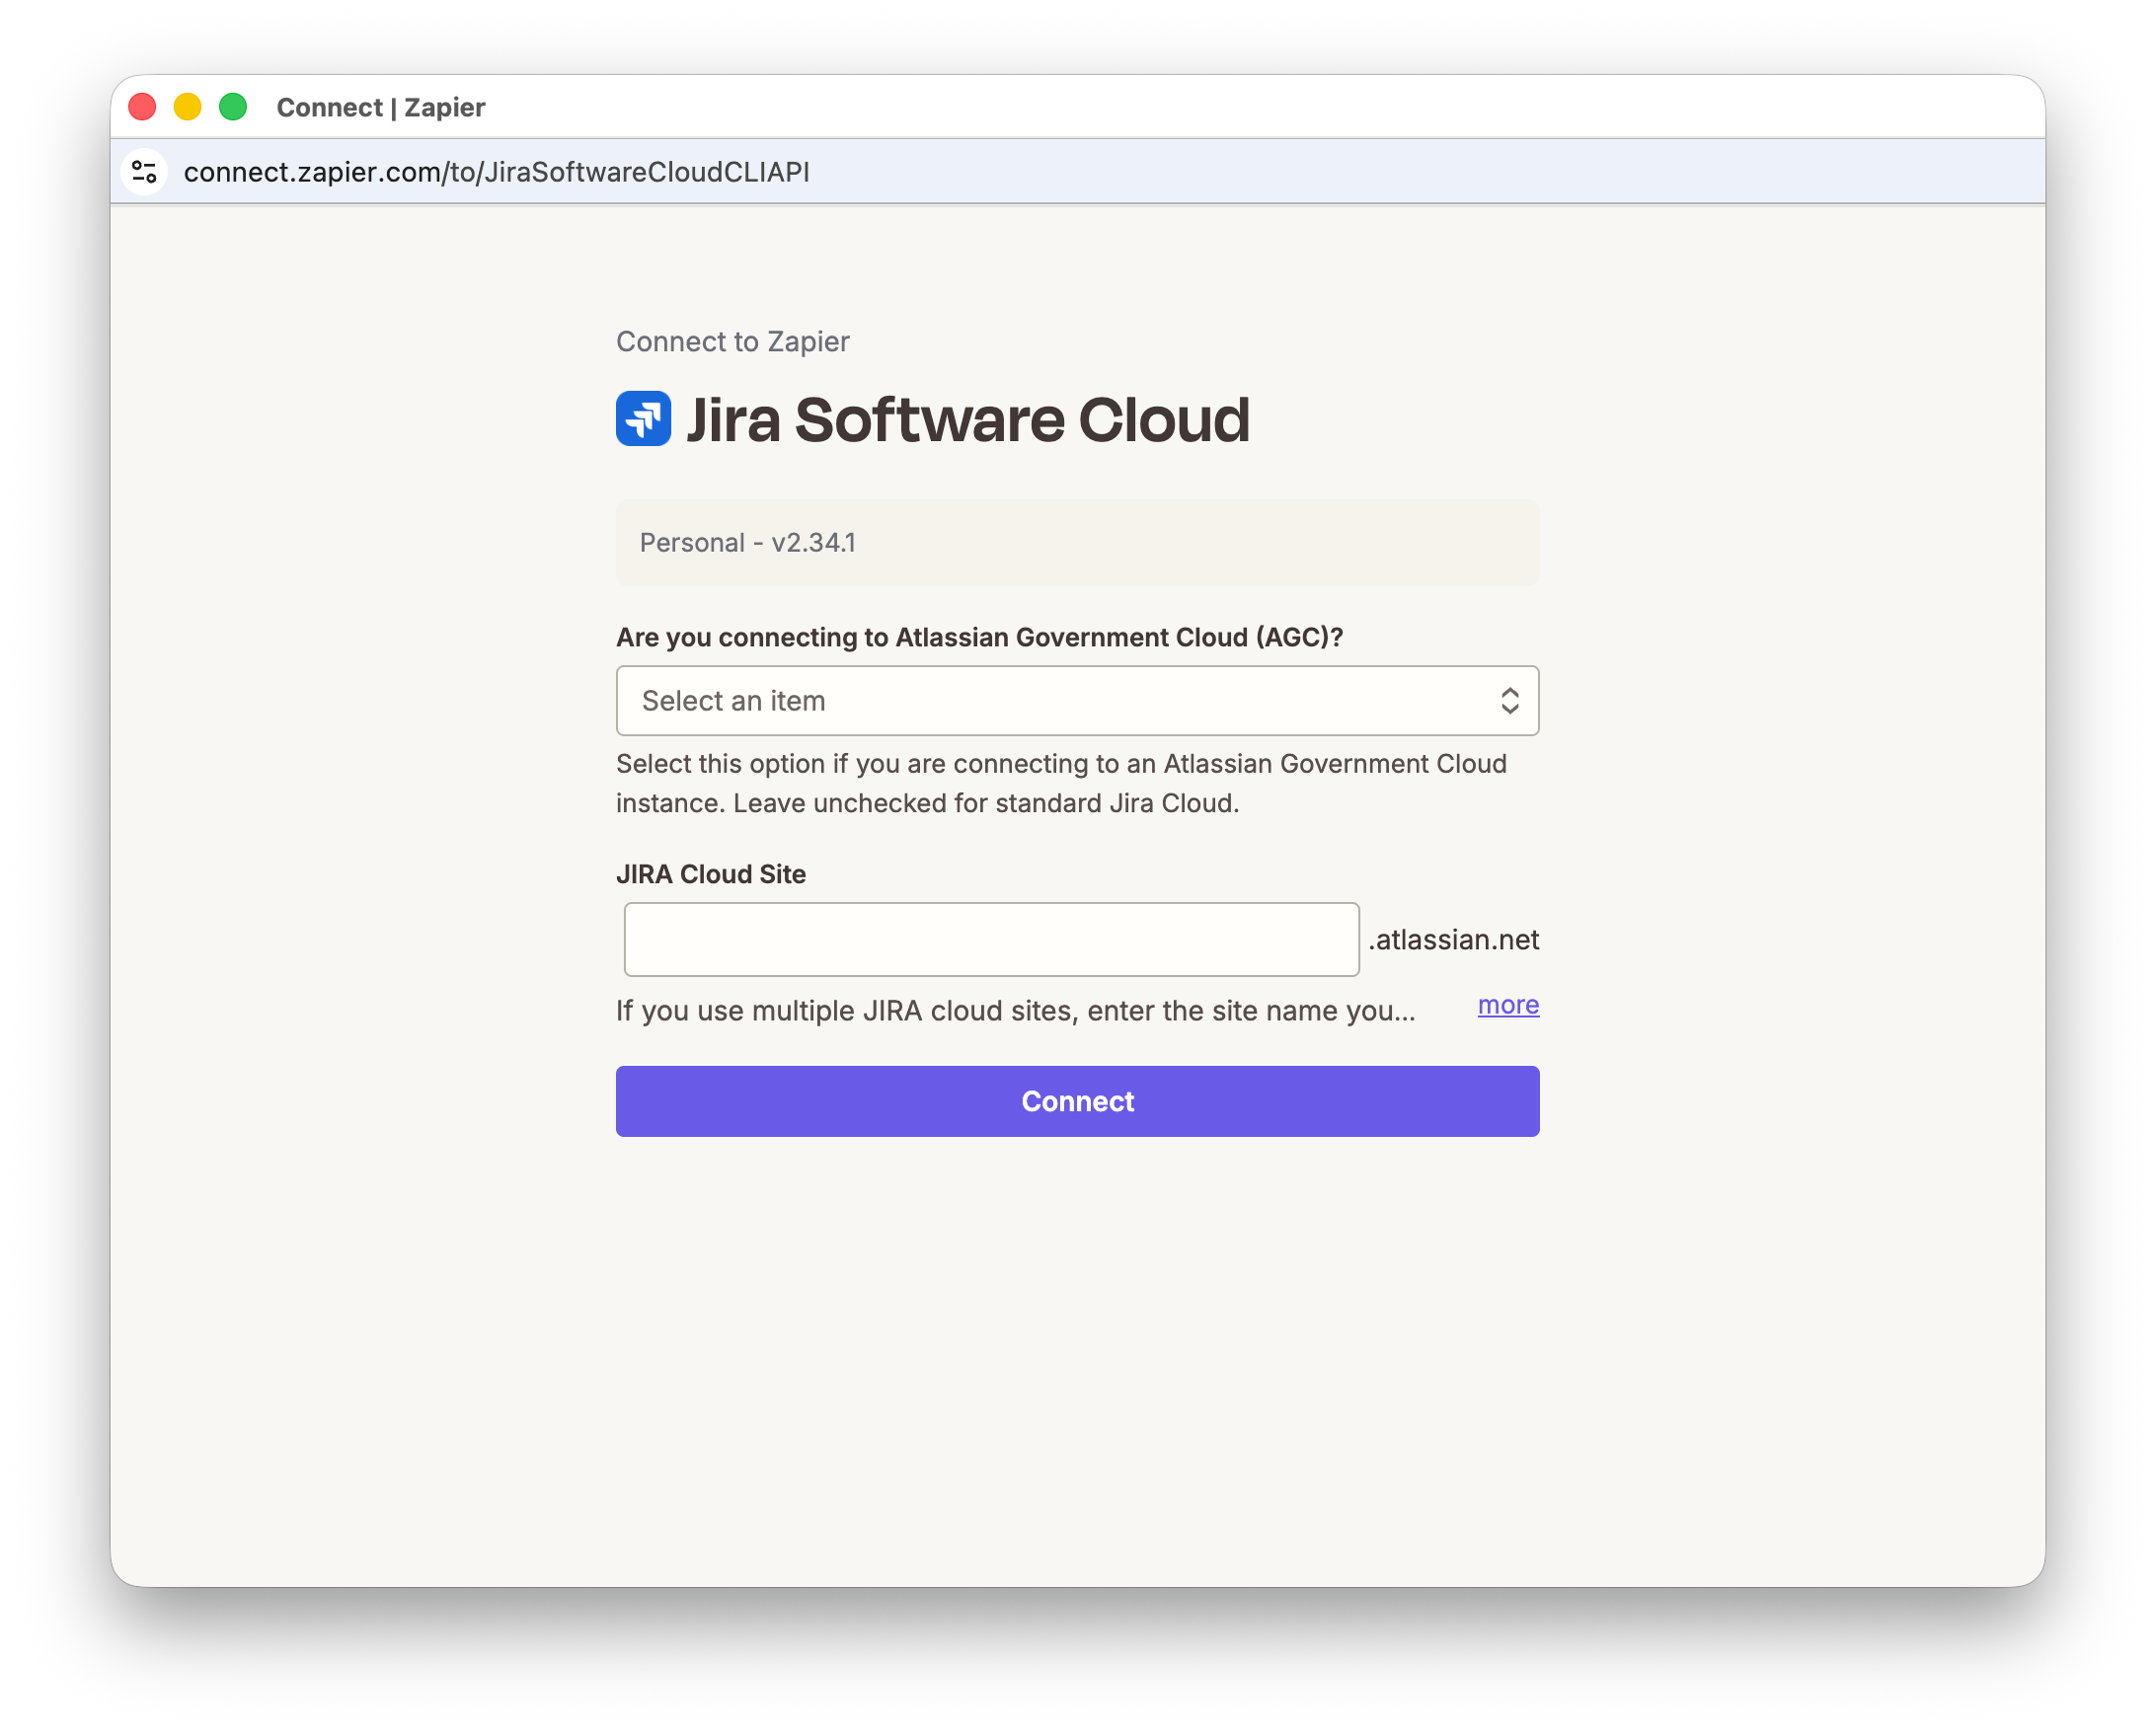
Connect UI (Zapier-hosted)
- What users see: the hosted Connect UI where they sign in to the third-party app and grant access
- What you control: the UI can be customized to match your design system so it feels native inside your product
-
Third-party OAuth consent screens (Google, Slack, etc.)
- What users see: the consent screen from the third-party app
- What’s important: the consent screen will show that Zapier is requesting access to the user’s third-party app account
 This screen is owned by the third-party app, so branding and wording are not fully controllable.
This also reflects why 9,000+ app connections are available to your users immediately — Zapier maintains the OAuth client registrations across all supported apps, so you don’t have to.
This screen is owned by the third-party app, so branding and wording are not fully controllable.
This also reflects why 9,000+ app connections are available to your users immediately — Zapier maintains the OAuth client registrations across all supported apps, so you don’t have to.
Key concepts
- Partner-signed JWT: your backend’s signed assertion of “this is user X in tenant/workspace Y”.
- JWKS URL: a public endpoint where Zapier fetches your public keys to verify JWT signatures.
- Access token (Bearer): used server-side to call Zapier APIs (list connections, run actions, poll results).
- Connect token: short-lived token used client-side to open the Connect UI (often obtained by exchanging an access token).
- Connection identifier: durable ID returned after Connect completes; you store it and use it to run actions later.
Token flow
Get started
- Partner onboarding — configure your JWKS URL, callback URLs, and JWT expectations with Zapier; receive your client credentials
- Token exchange — exchange credentials for an access token, then a connect token
- Connection flow — open Connect UI (popup or redirect) and capture the connection identifier
- Pick your surface: Embedded actions · Embedded workflows · AI agent connections & automations