

Platform UI
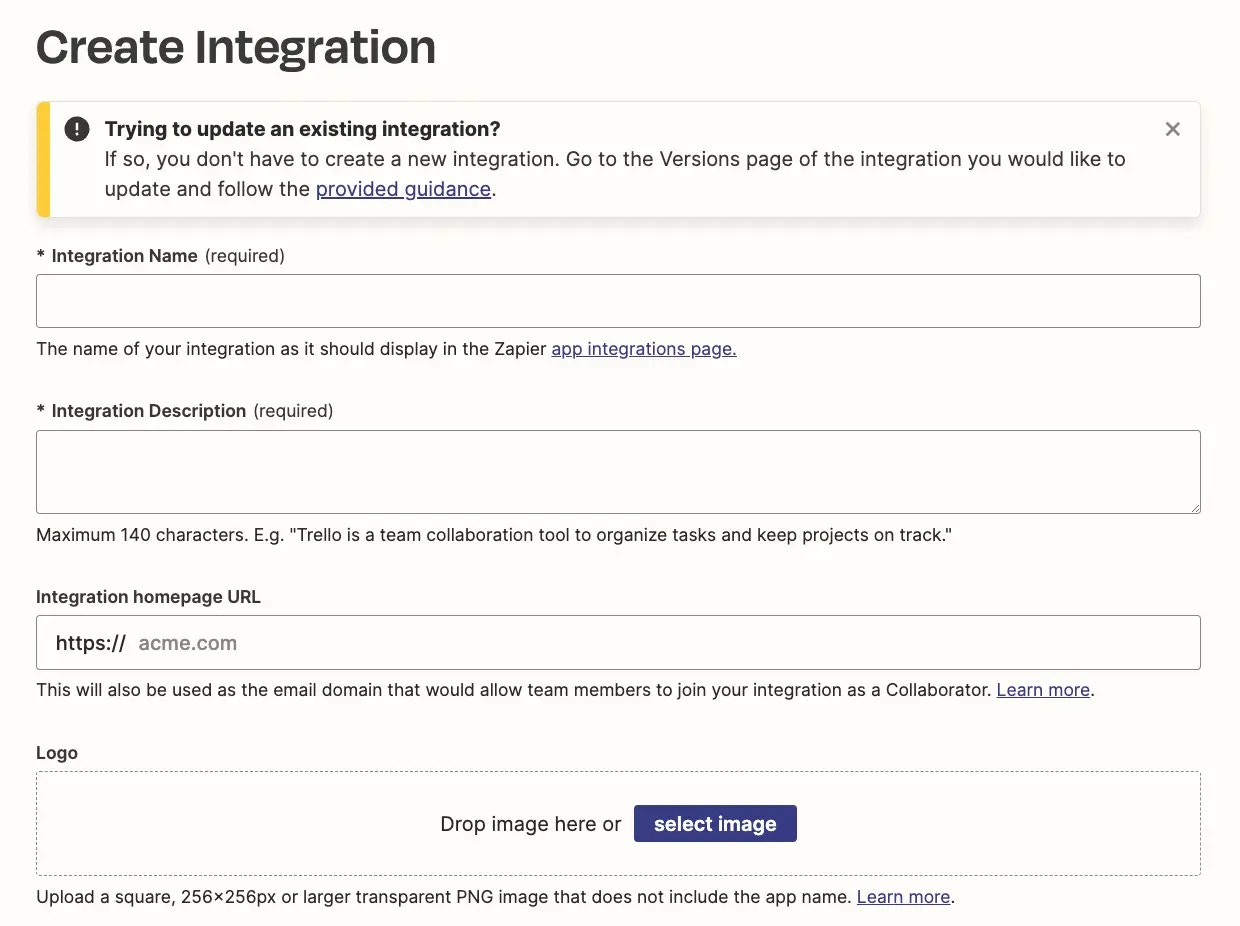
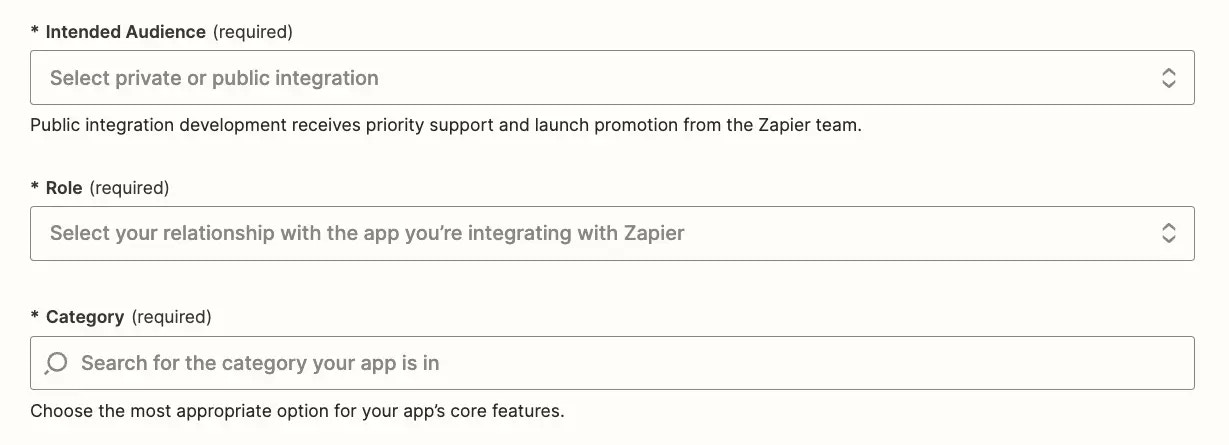
Platform CLI
When creating a new integration in the Platform CLI, you can optionally add the app name, description, and homepage URL to thepackage.json file. The rest of your app’s branding needs to be added in the Platform UI once you zapier-platform push (or deprecated zapier push) your integration for the first time.
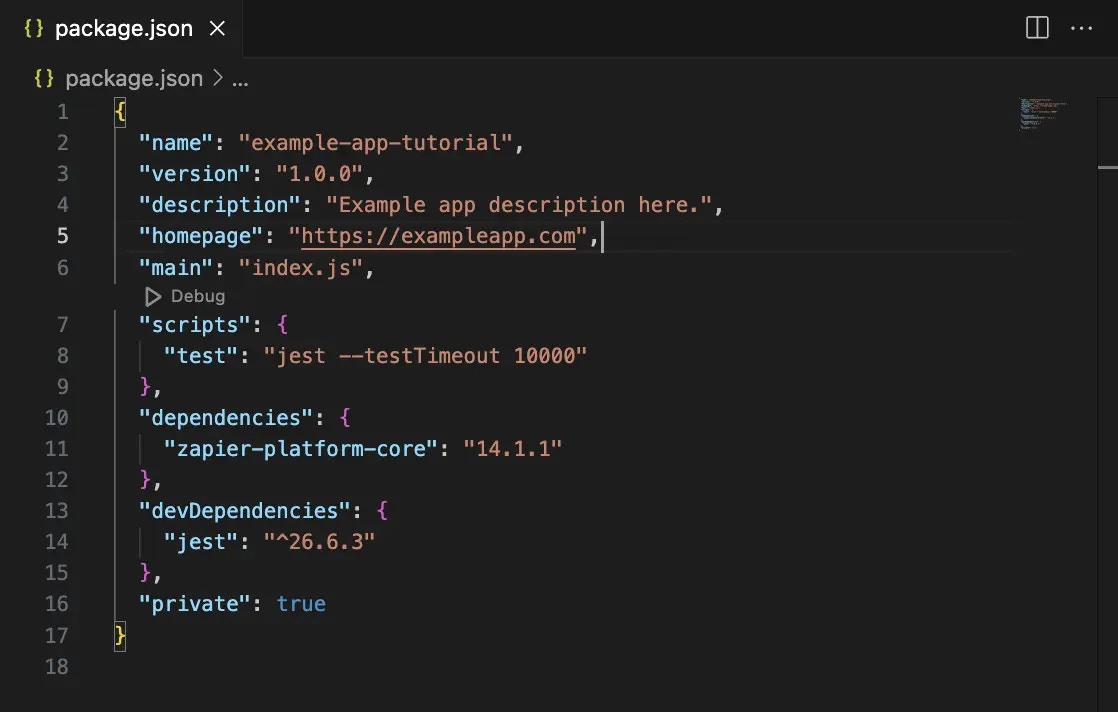
zapier-platform push (or deprecated zapier push) command. Zapier will use the name you added in the CLI integration settings, along with a placeholder icon for your app.
Next, add your app’s branding via the Platform UI at developer.zapier.com/. There you will see every Zapier integration you’ve built. The My integrations section includes every app you’ve added via Zapier’s Platform UI or CLI. Look for the integration you built with Zapier CLI and select.
Modify or rebrand your integration
Private integrations
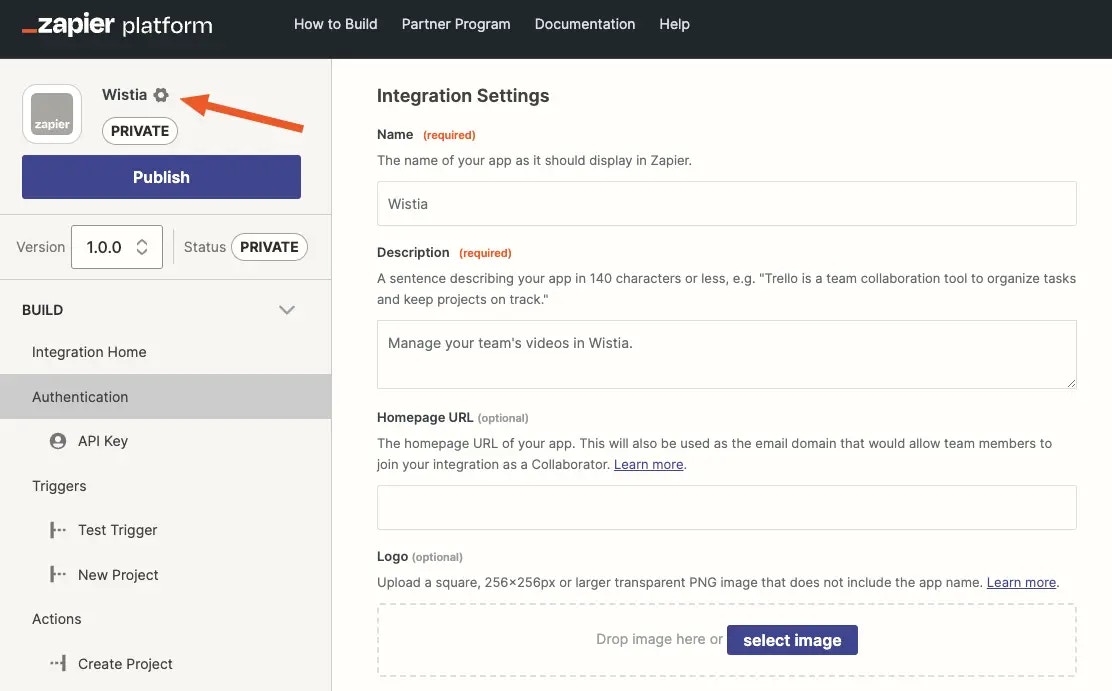
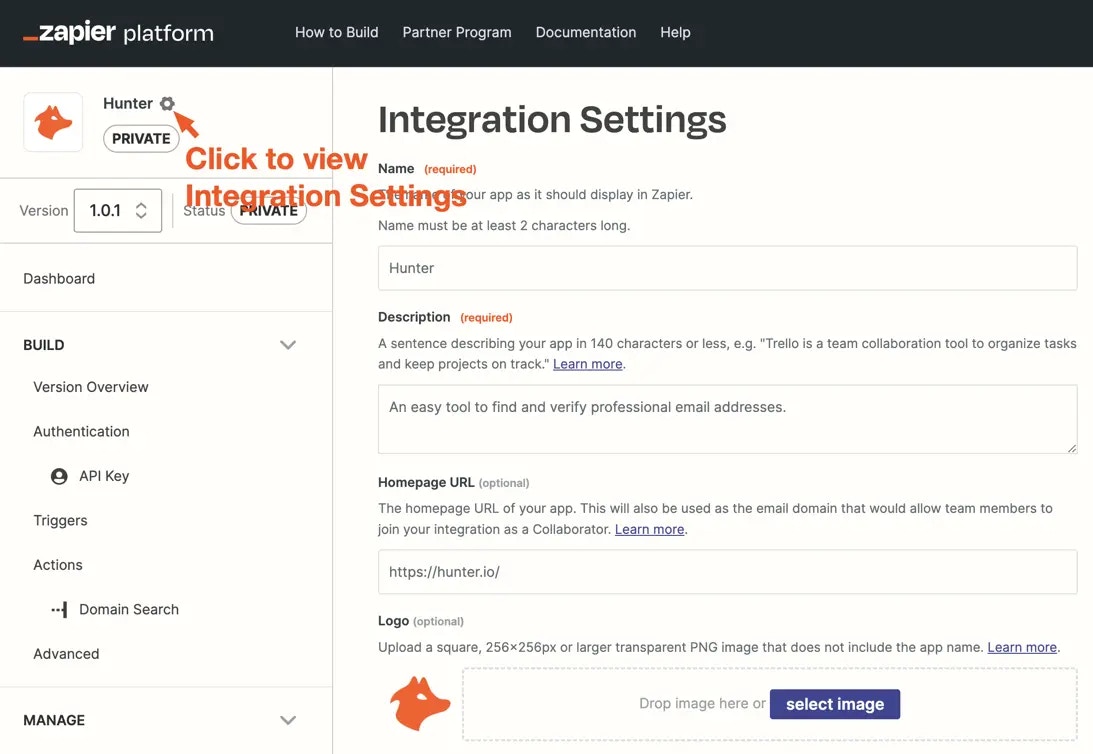
For integrations inprivate status, branding can be updated anytime on the Integration Settings page. Access Integration Settings by clicking the gear icon to the right of the integration name.
Public/Beta integrations
For integrations inpublic or beta status, branding changes are processed by Partner Support. Submit a request using the integration branding form.
You can also open the form from the Integration Settings page for your integration (linked at the top of the page). When you arrive from Integration Settings, your integration is pre-selected in the form.
- Go to the integration branding form.
- Sign in with your Zapier developer account if prompted.
- Select your integration from the Integration dropdown. Only integrations in
betaorpublicstatus appear in the list. - Complete only the fields you want to update. Leave any unchanged fields blank.
- Optionally select Preview to check how your branding will appear on your app directory page.
- Select Submit.
If you change the integration name, you must also provide an updated description. Changing the name updates the URL for your app directory page. Traffic from the old URL redirects to the new URL after your request is processed.