What is dehydration & hydration?
Dehydration, and its counterpart hydration, is a tool that can lazily load
data that might be otherwise expensive to retrieve aggressively.
When to use dehydration?
The two most common times you should use dehydration in a Zapier integration are when:- You need to retrieve extra information from an API (e.g. a resource’s list endpoint only returns IDs, but content must be retrieved per ID)
- You need to provide access to a file (or files)
Why use dehydration?
The core reason is reducing load to your API in case #1 above, where Zapier could fetch a list of known IDs of resources every 1-15 minutes per Zap, instead of the full definition of each of those resources. Putting any secondary requests behind a dehydration pointer means the request is made only once, although a Zap might see the same records again and again based on its polling cycle. Dehydration saves even more bandwidth with files. No polling trigger should return files without dehydration, because otherwise, your app will send that file to Zapier around 100-300 times per day. For file outputs, implementing dehydration means the file will only be accessed and downloaded when a later Zap step asks for it. The second reason is time. Your integration gets 30 seconds to run its API calls and any additional code each time a Zap step runs before the step would time out. If you are running into that time limit, consider if work could be offloaded to dehydration and hydration.How to use dehydration?
Check out our example “files” app for an example of file dehydration in action with a working Zapier demo integration. You can even initialize a Zapier app based on that repo by enteringzapier-platform init . --template=files (or deprecated zapier init . --template=files) in Terminal to see it in your local code editor.
Hydration in action
Some key areas includeindex.js, hydrators.js, triggers/newFile.js, and creates/uploadFile.js.
When building your integration, you’ll likely be retrieving file info from a remote server. Instead, this example integration hard codes file urls to demonstrate.
The New File Trigger returns those file urls. The method z.dehydrateFile is used to create a pointer to the downloadFile function. In order to pass those files to other apps in actions, we reference hydrators.downloadFile, our hydrating function given a file url.
If you look at the hydrators.js file, you can see the downloadFile function. downloadFile calls the methodz.stashFile to return a URL file pointer.
All of these will work together to lazily fetch the trigger data only when needed, avoiding API calls during polling or for reuse.
The only Action for this app is to upload the file, given a bundle.inputData.file.
Setup
First, install the sample Zapier appzapier-platform init . --template=files (or deprecated zapier init . --template=files) and zapier-platform push (or deprecated zapier push) it to Zapier. If you’ve not worked with the CLI before, start by checking out the tutorial.
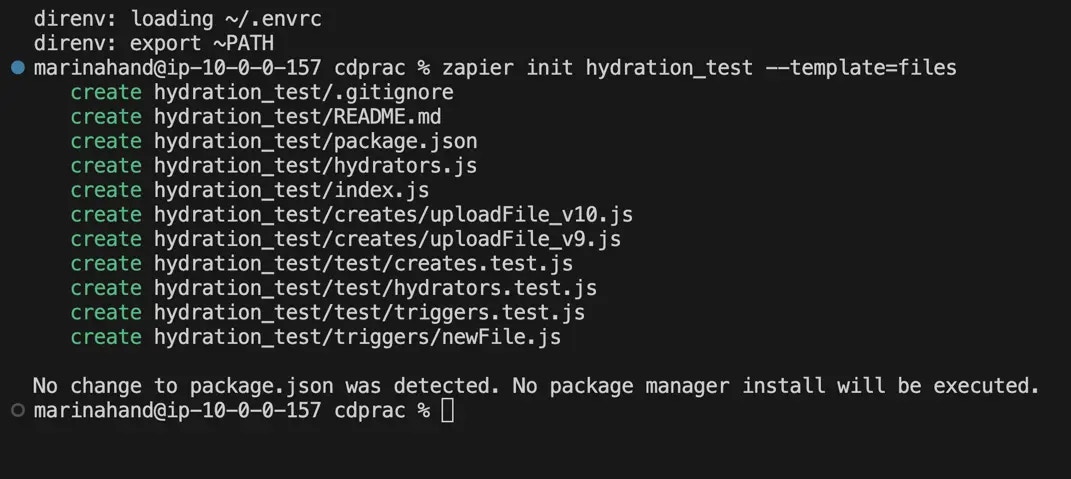
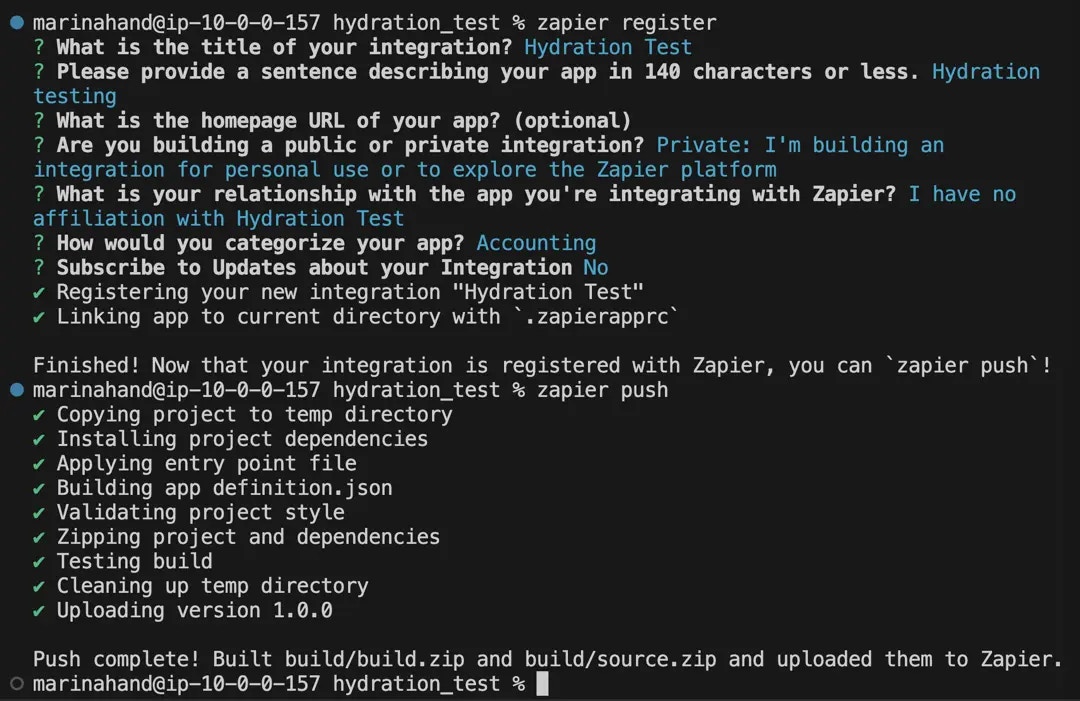
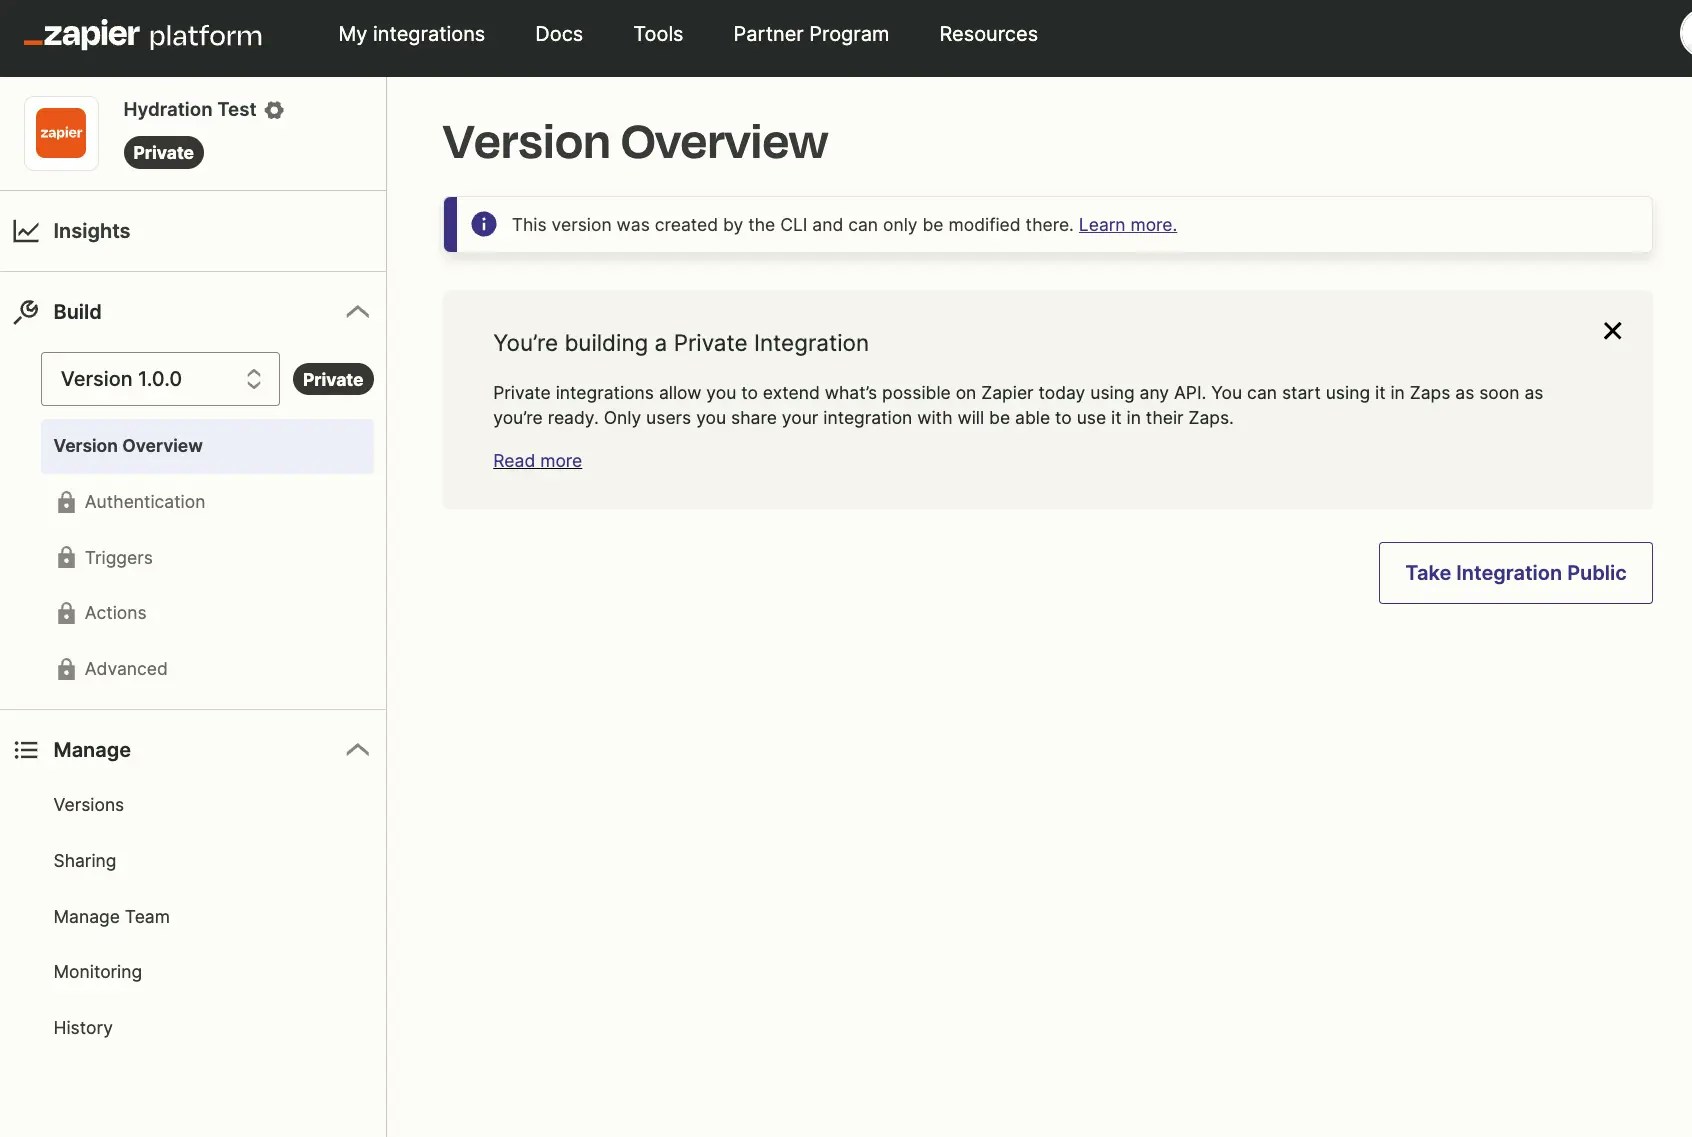
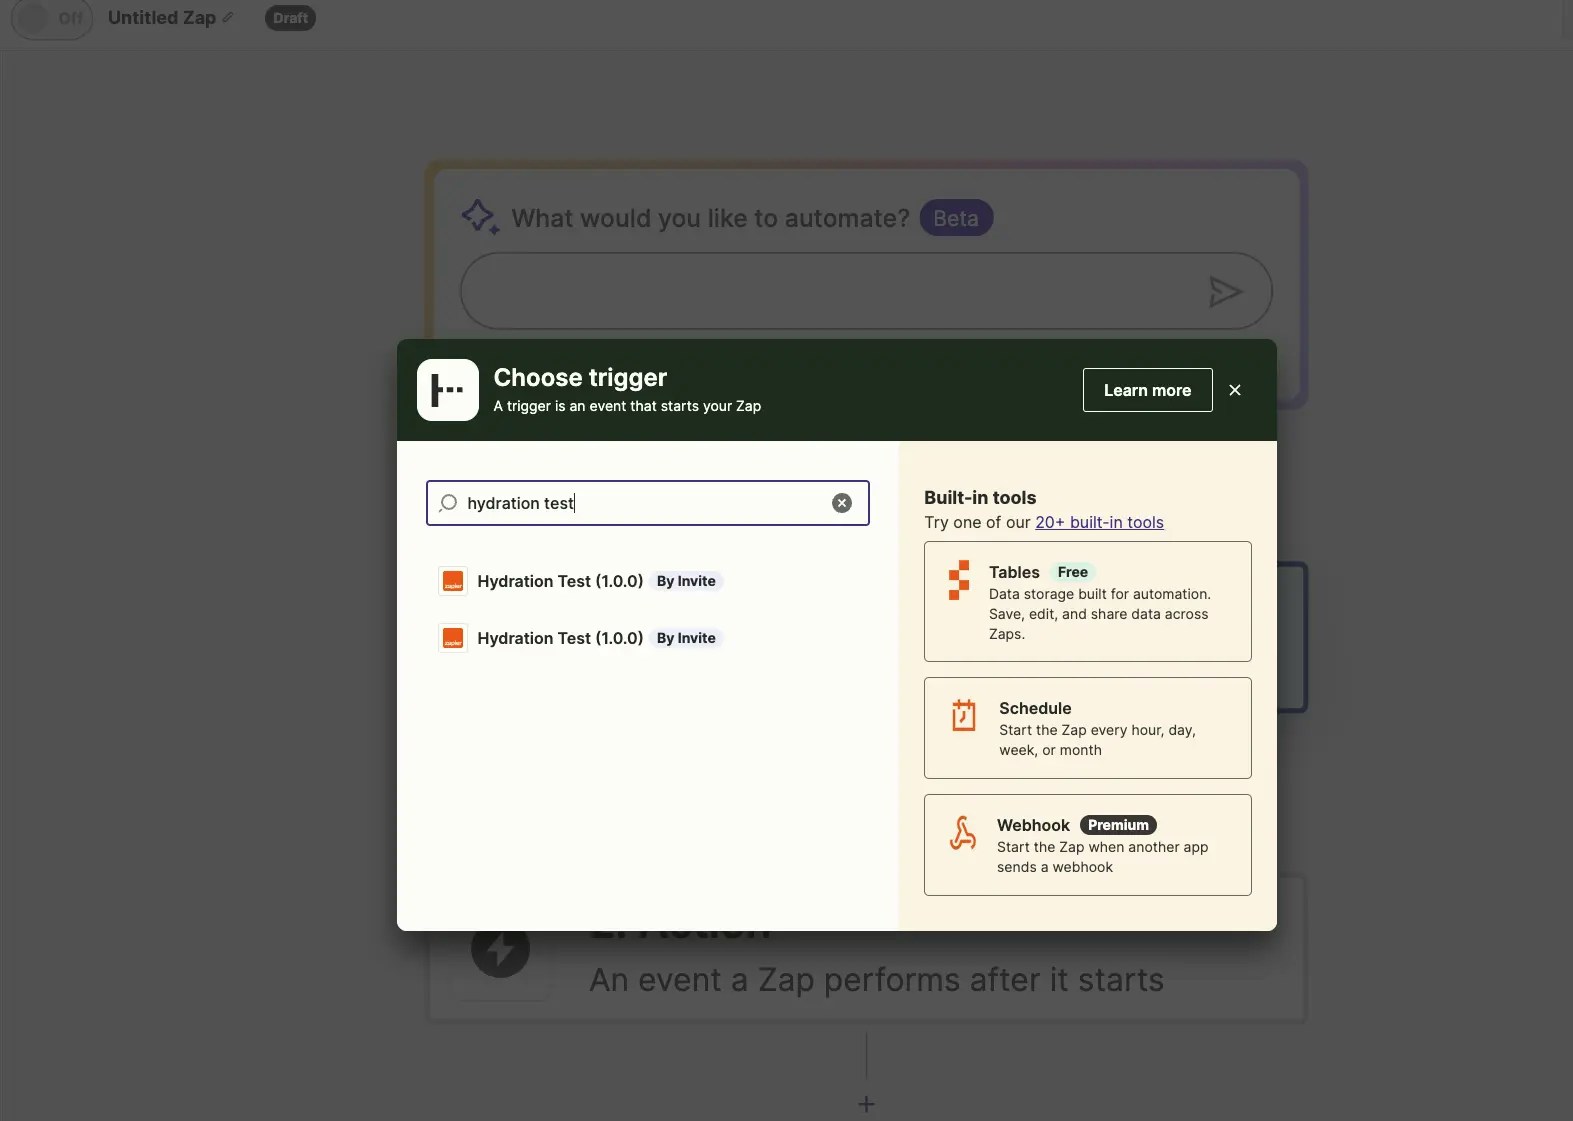
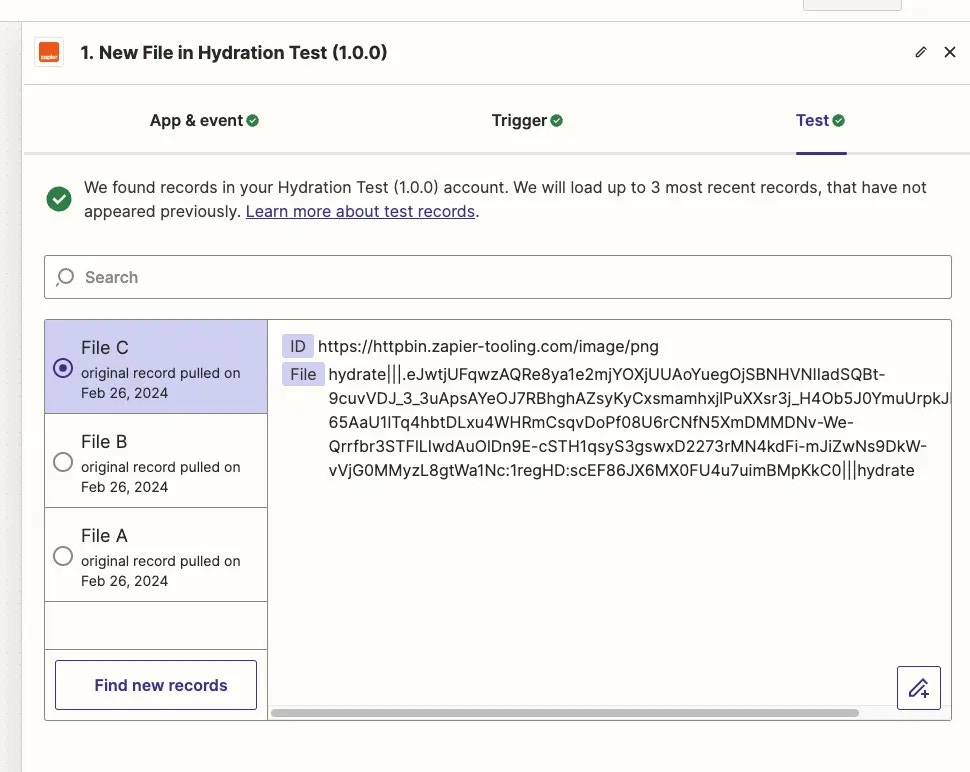
Test trigger to see the three sample urls pulled in and hydrated pointer for each.
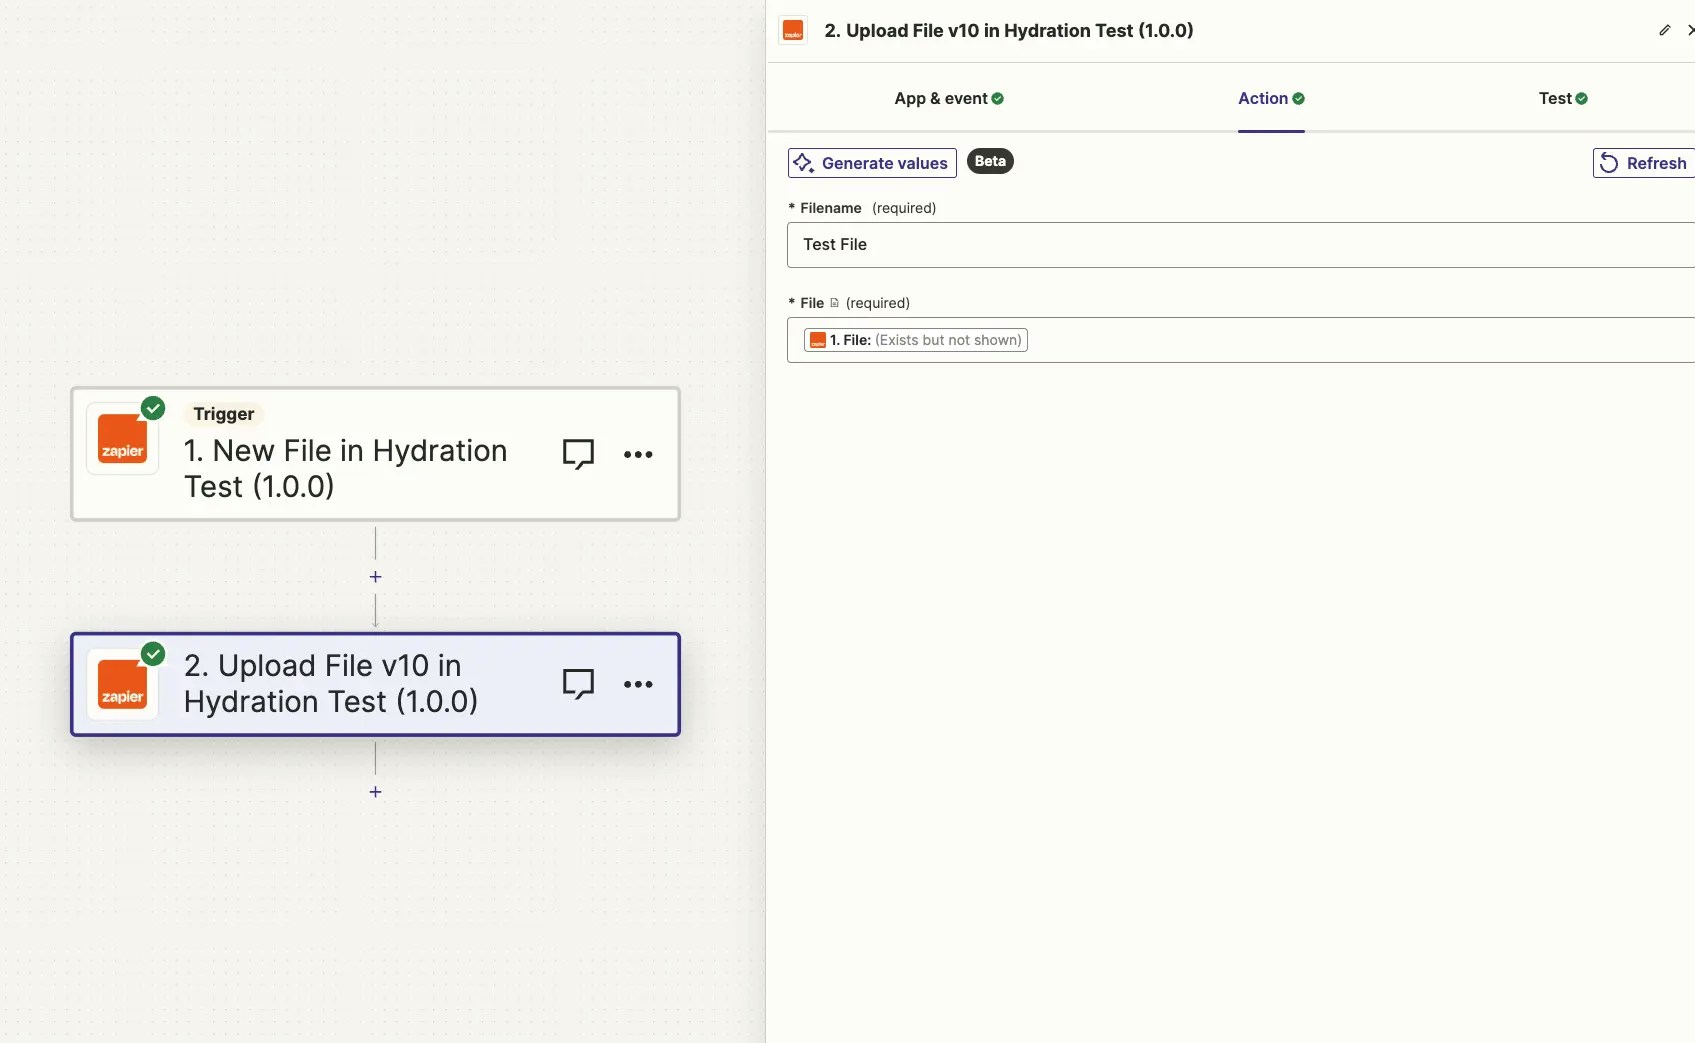
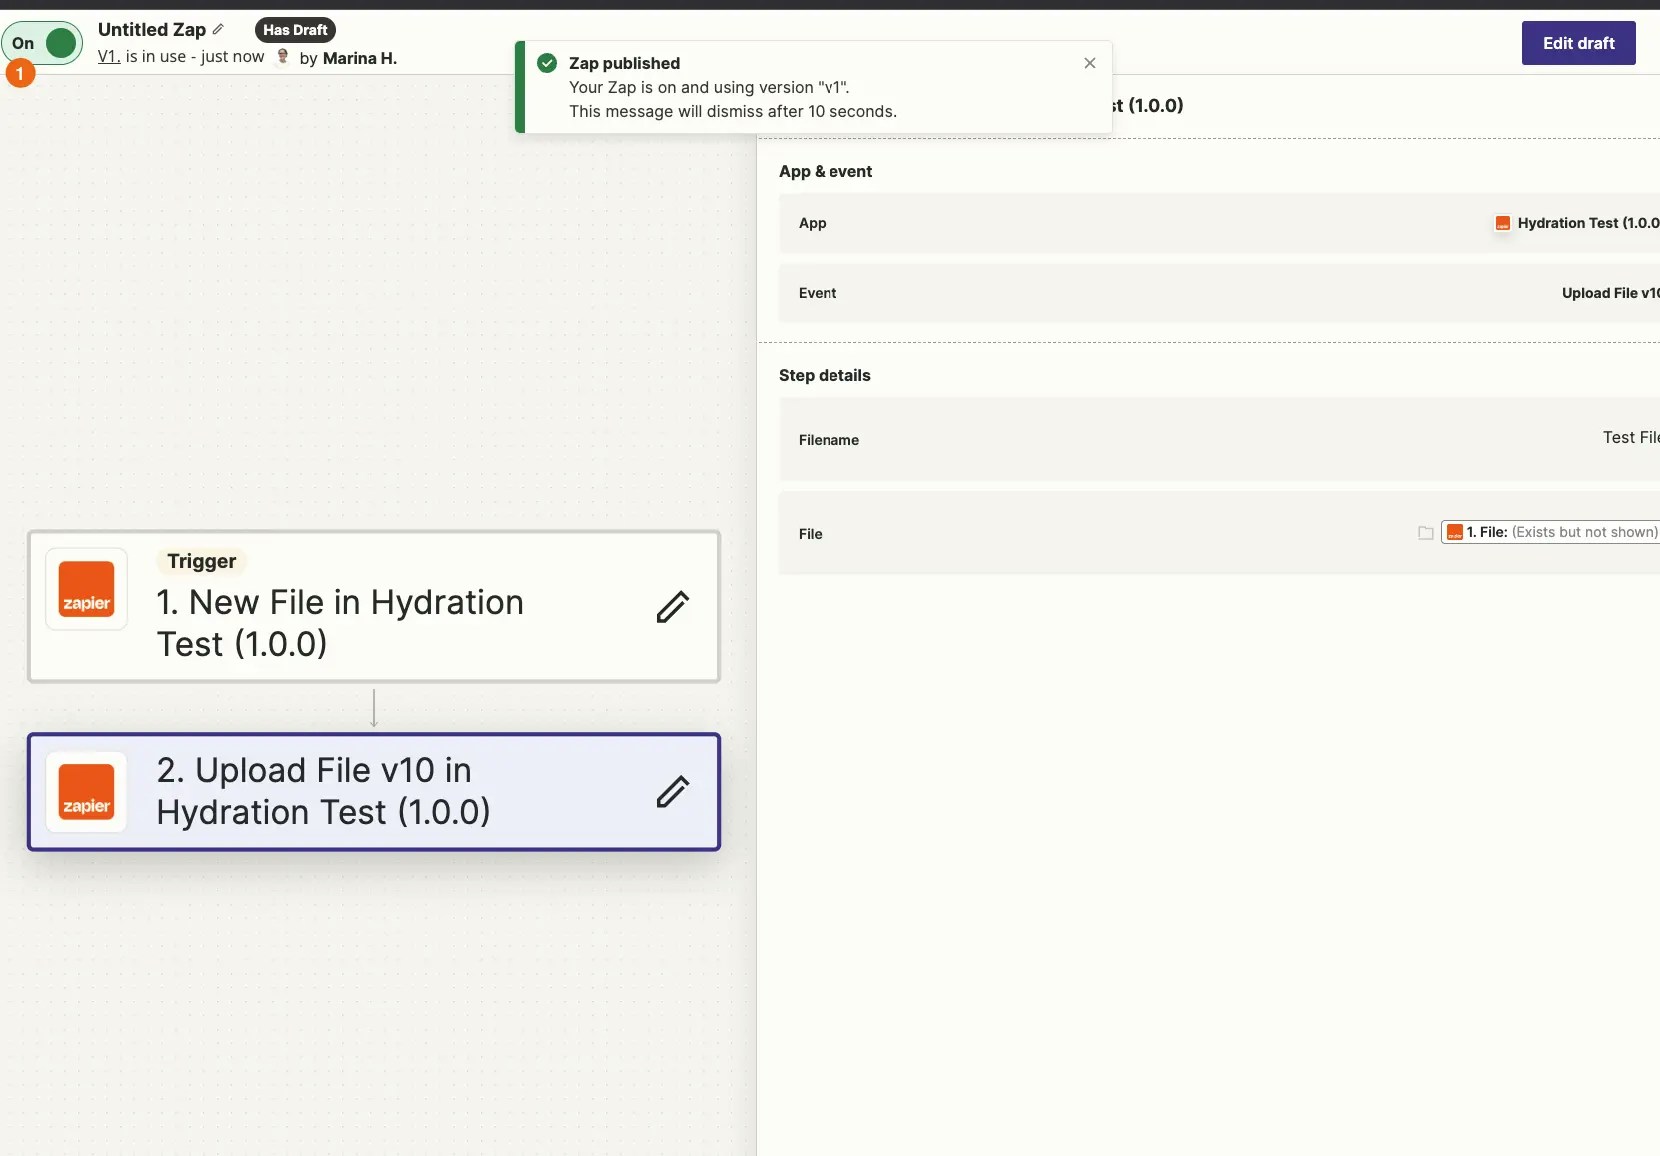
Upload File action to the Zap. Normally, we wouldn’t want a setup like this (trigger off of new file / create a new file), because it would result in a Zap loop. But this is just a test—and be sure to turn the Zap off shortly after it’s turned on.
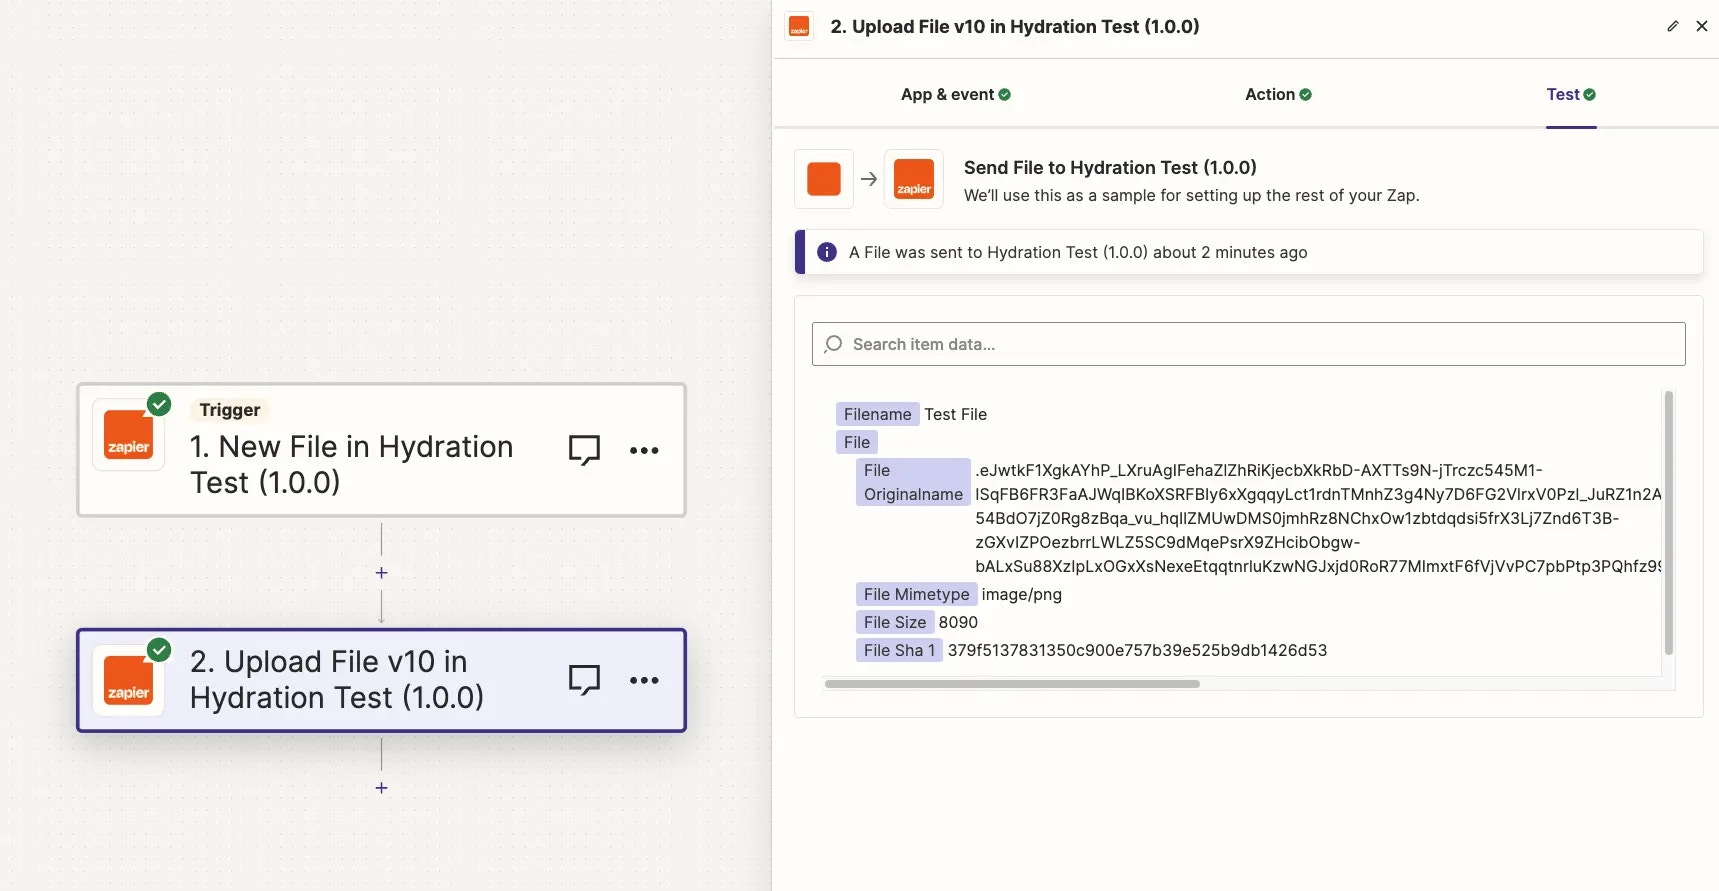
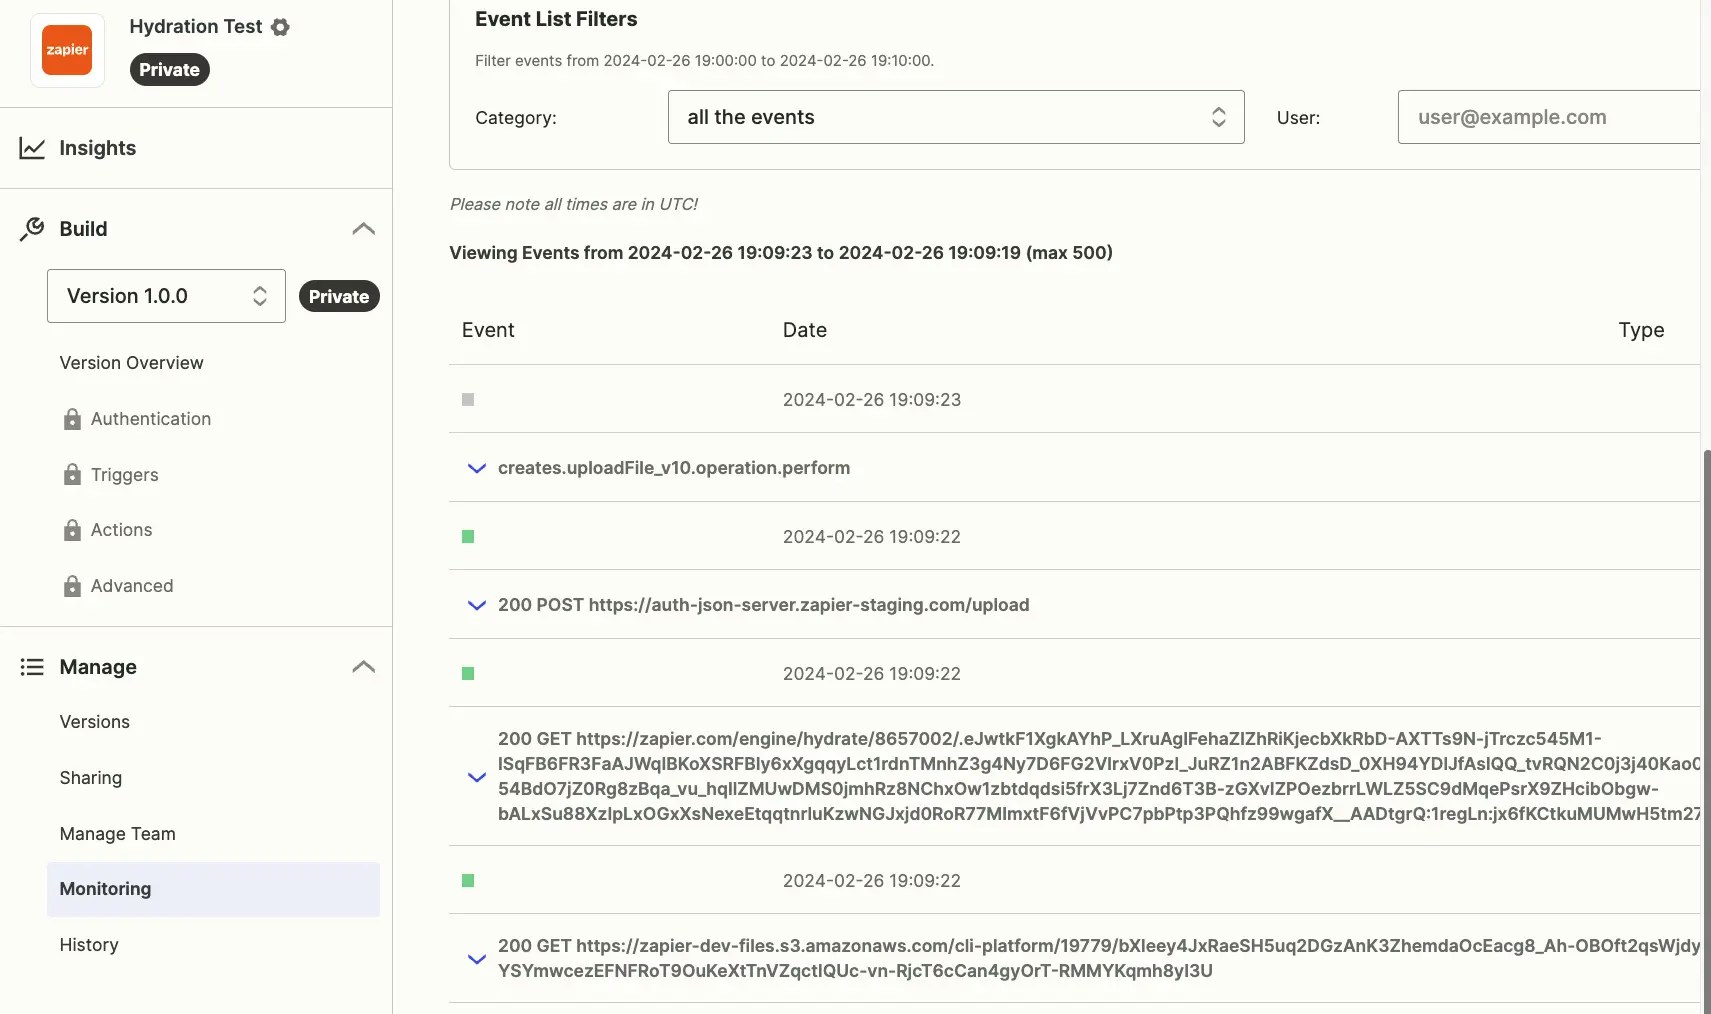
Test step, you will see three new requests show in the Monitoring tab of your integration:
fileURLs in the trigger perform, with a request to your API that returns the triggering file, you’ll be able to test this out fully.
Need help? Tell us about your problem and we’ll connect you with the right resource or contact support.