Output data
Each Zap step must return data to Zapier to use in subsequent steps. By default, the output data is the direct response from your API—but in some cases, you may need to customize the response data to make it work well with Zapier. Here are general principles for output data from your Zap steps: Separate data where possible, to make it as widely usable as possible in subsequent Zap steps. Names should be split into separate first/last or given/surname pairs, along optionally with a full name field. Addresses should be separated into their individual components. Format Date-time values in ISO 8601 standard including time zone offset, even for UTC times. Avoid UNIX or Epoch timestamps. Date responses may be modified in your API call custom code if your API returns dates in different formats. Example acceptable date-time values include:2023-12-15T01:15:13Z(or-0000instead ofZ)2023-12-01T12:32:01-08002023-12-01T12:32:01-08:002023-12-13(for date-only values)
true or false. Do not use 1 and 0 for boolean values.
Include the value name and ID in lists and dropdown menus to help users know which item to choose.
Consider removing non-necessary fields that may seem confusing to users in your API call’s custom code.
Sample data
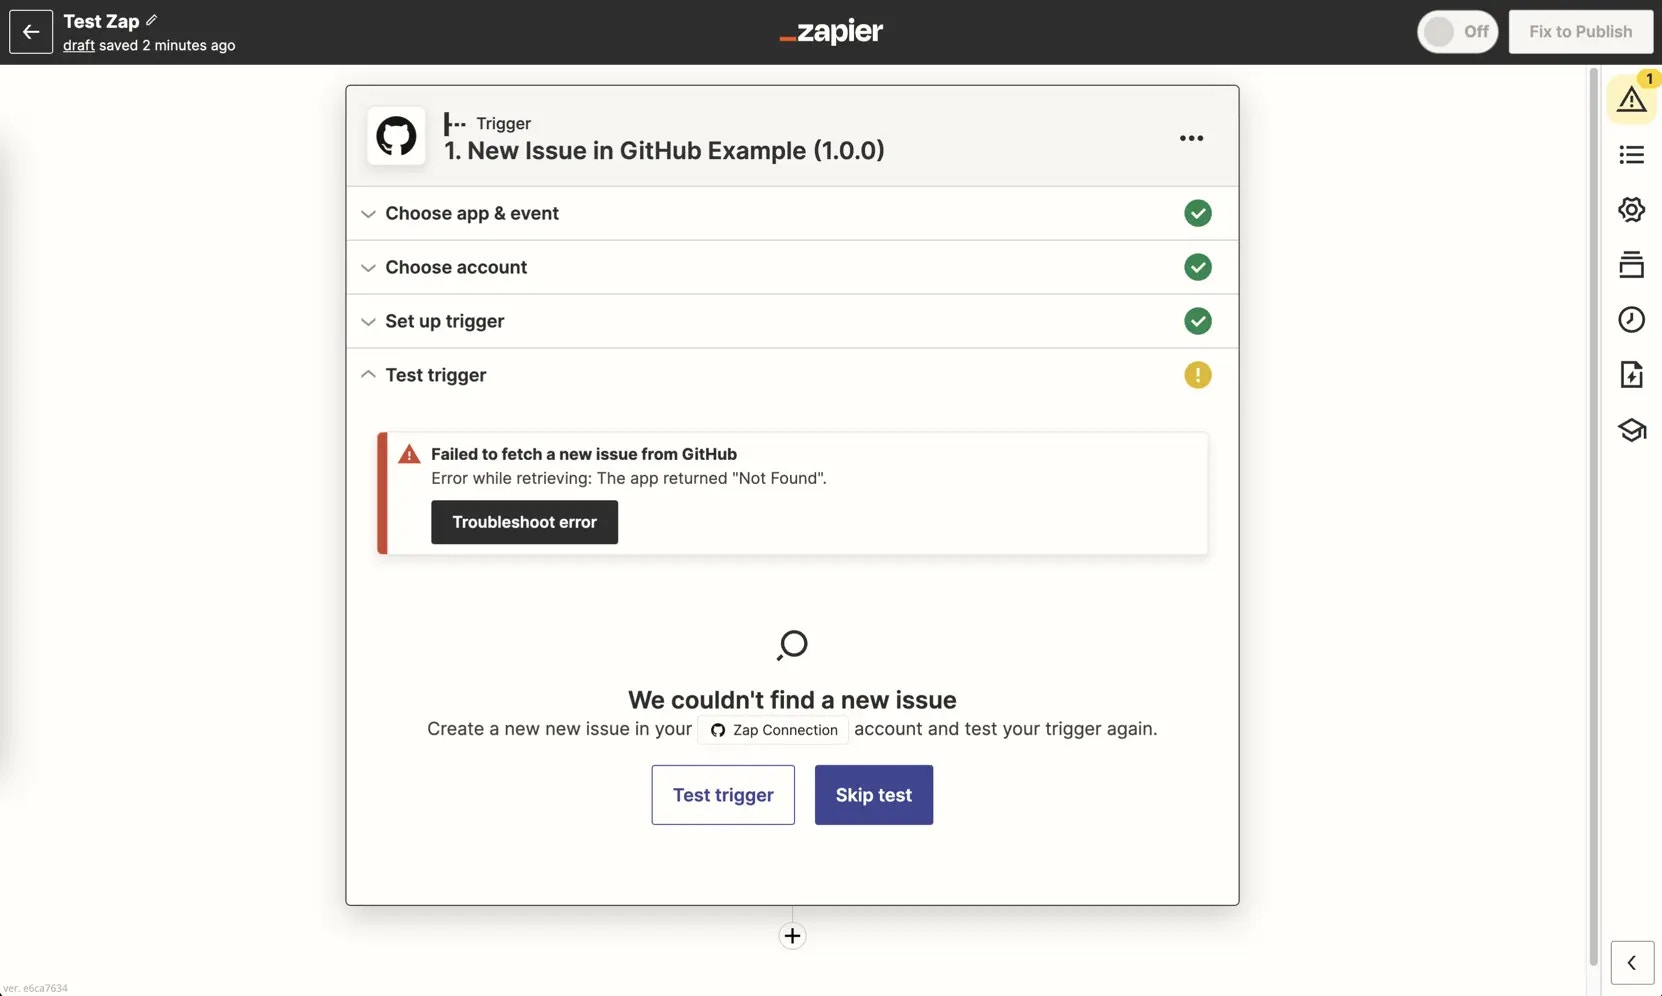
Sample data gives Zapier example data if users don’t test the trigger or action. Though optional, it is especially important for triggers and also useful in actions. In the Zap editor, Zapier will attempt to retrieve or create existing data to test triggers and actions. With triggers, Zapier will try to fetch recently added or updated items during the test. If the connected account doesn’t have any data for this item (polling triggers) or the Perform List is not defined (REST Hook triggers), the user will see an error that no items are available. Users can also opt to skip those test steps. In both cases, Zapier shows the sample data instead, to allow users to map fields correctly in subsequent Zap steps.

job_title information into a required field in another app, such as a CRM. Then, when the Zap runs, job_title is only included in the live result if it happens to be available, and the data the Zap receives looks like this:
job_title is a required field in the CRM but there’s no data in it. To avoid this, there are several integration checks that require sample and live Zap run data to match.
Output fields
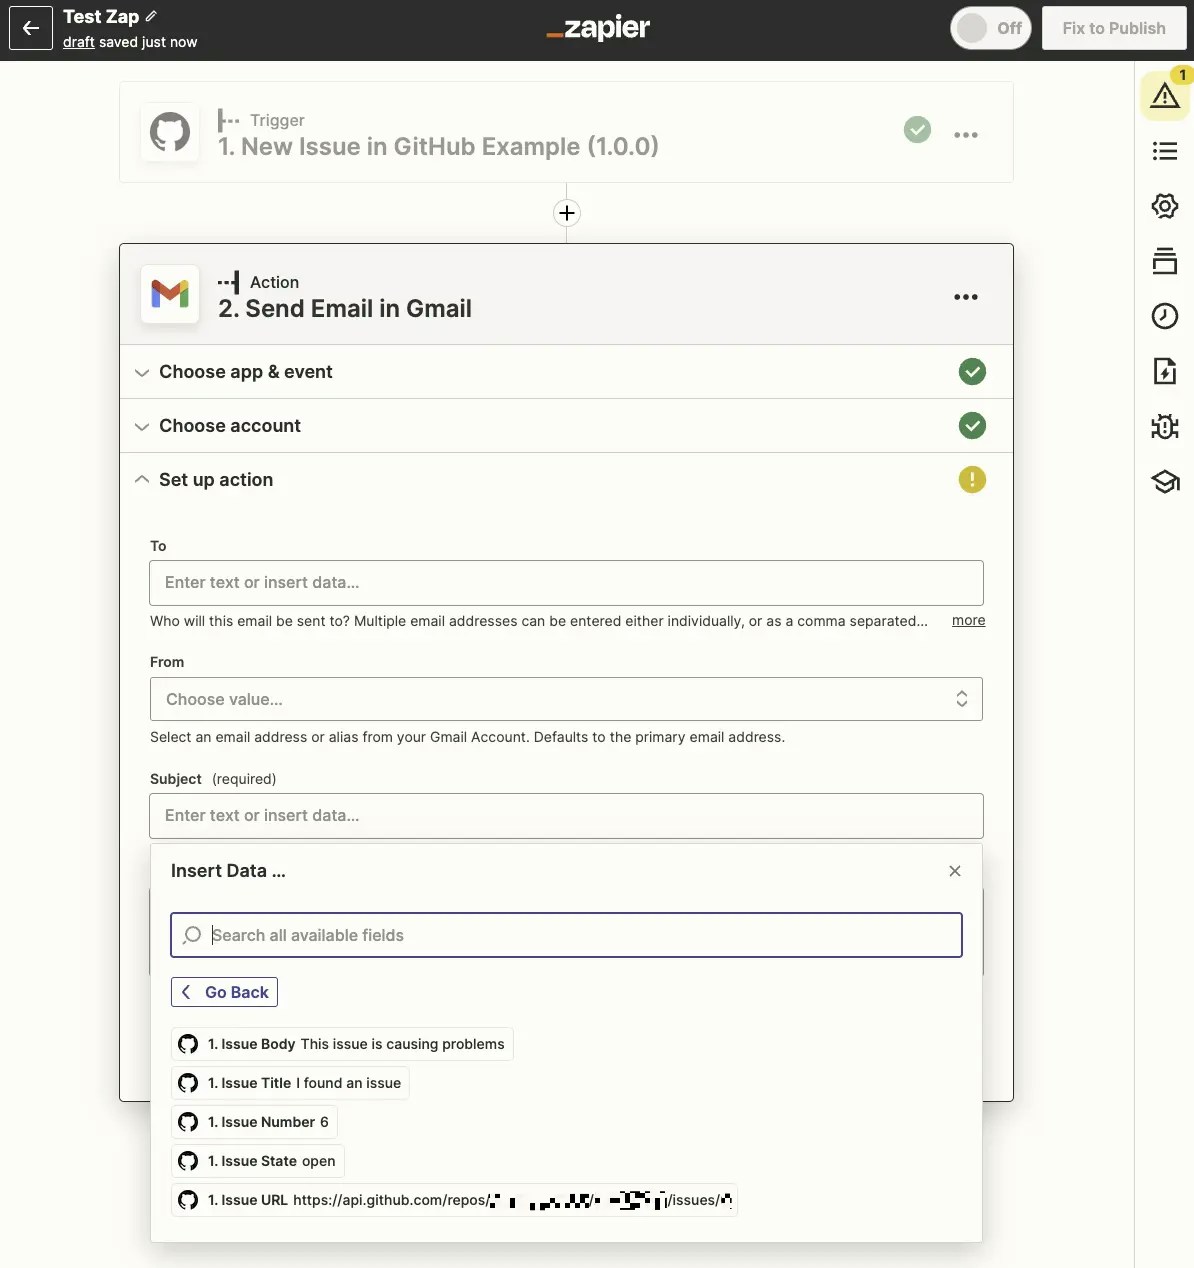
Output fields give your API’s response data user-friendly labels in subsequent Zap steps. By default, Zapier uses a basic human-friendly transformation of field names, capitalizing words and adding spaces instead of underscores. You can customize this further with Output Fields.How to modify your sample data and output fields
In your trigger or action settings:- Click Step 3 Define your Output to expand this section.
- In the Sample Data field, add in your JSON formatted sample data output.
- Click Generate Output Field Definitions.
- In Output fields you’ll see a table of fields with keys on the left, and field types on the right. Add a human-friendly name for each field in the center Label column, and select the field type in the right hand column.
- Click Save Output & Finish.
title. Users may expect that field to be called Issue or Issue Title, so you could define the Output Field as having the name Issue Title, rather than the default transformation of “Title”.

Need help? Tell us about your problem and we’ll connect you with the right resource or contact support.