Tip: Learn more about line items from Zapier’s
guide and help
documentation.
Before adding a line item group
Before adding a line item group to an action:- You should have already added an action where this line item group would be added.
- Your app’s API should be able to accept and work with line item values.
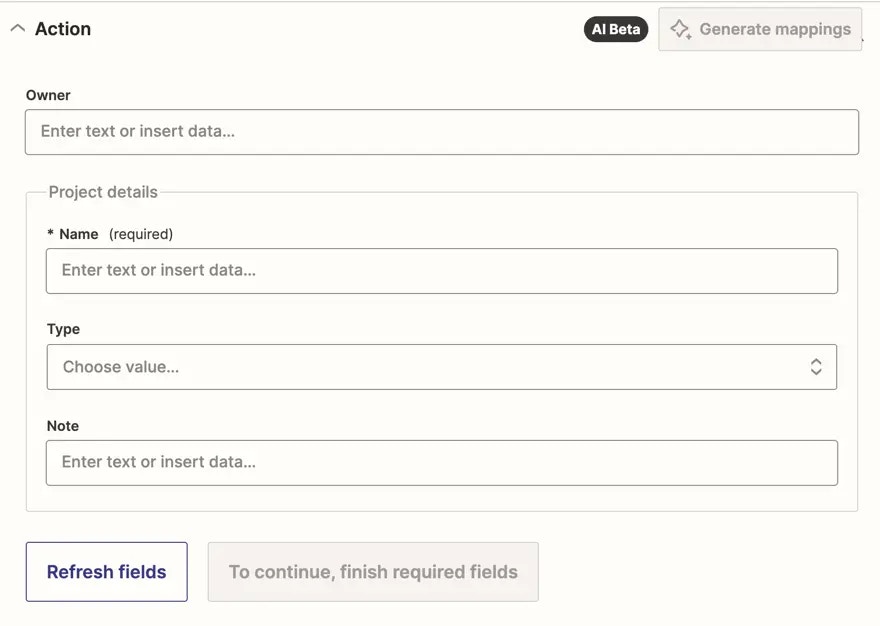
Add a line item group
To add a line item group to an action:- Log into the Platform UI.
- Select your integration.
- In the Build section in the left sidebar, click the name of your action.
- Click the Input Designer tab
- Click Add to display the dropdown menu and select Line Item Group.
- In the Line Item Group Label field, add a name for the Line Item Group. This should be something users would recognize as being a set of values where each one would be added individually.
- In the Line Item Group Key field, add a key for the Line Item Group. This will let Zapier identify this group internally.
- Click the Add Line Item button.
- Add in the relevant fields as you would for an input field. Each field that you add here will be received as line item values. Note that the Allows Multiples and Alters Dynamic Field options will not appear, as those options cannot be used in line item fields, as they are mutually exclusive.
- After adding all the line item fields, click Save.
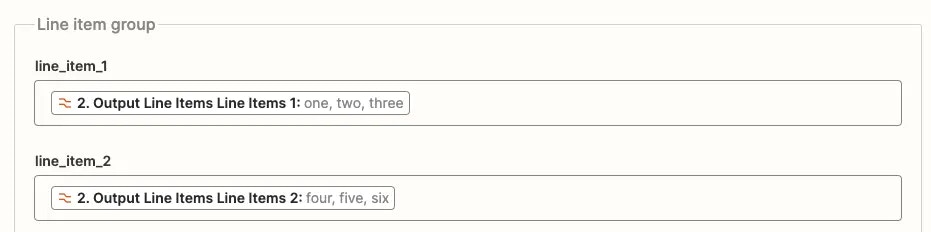
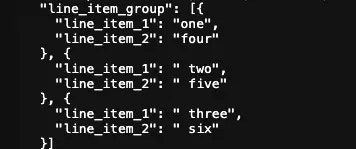
Testing the Line Item Group
Once you’ve added a line item group to your action, you can test how it works in a Zap. To do this, send line items from a previous step in the Zap into the line item fields in your integration. If you don’t have an app that outputs line items, you can use the Formatter by Zapier integration to create line items. Then, map the output fields from the Formatter step into the line item group fields in your action. You can use the Monitoring page on the Platform UI to view the API request. This helps you verify that values are passed as expected in the API request.Need help? Tell us about your problem and we’ll connect you with the right resource or contact support.