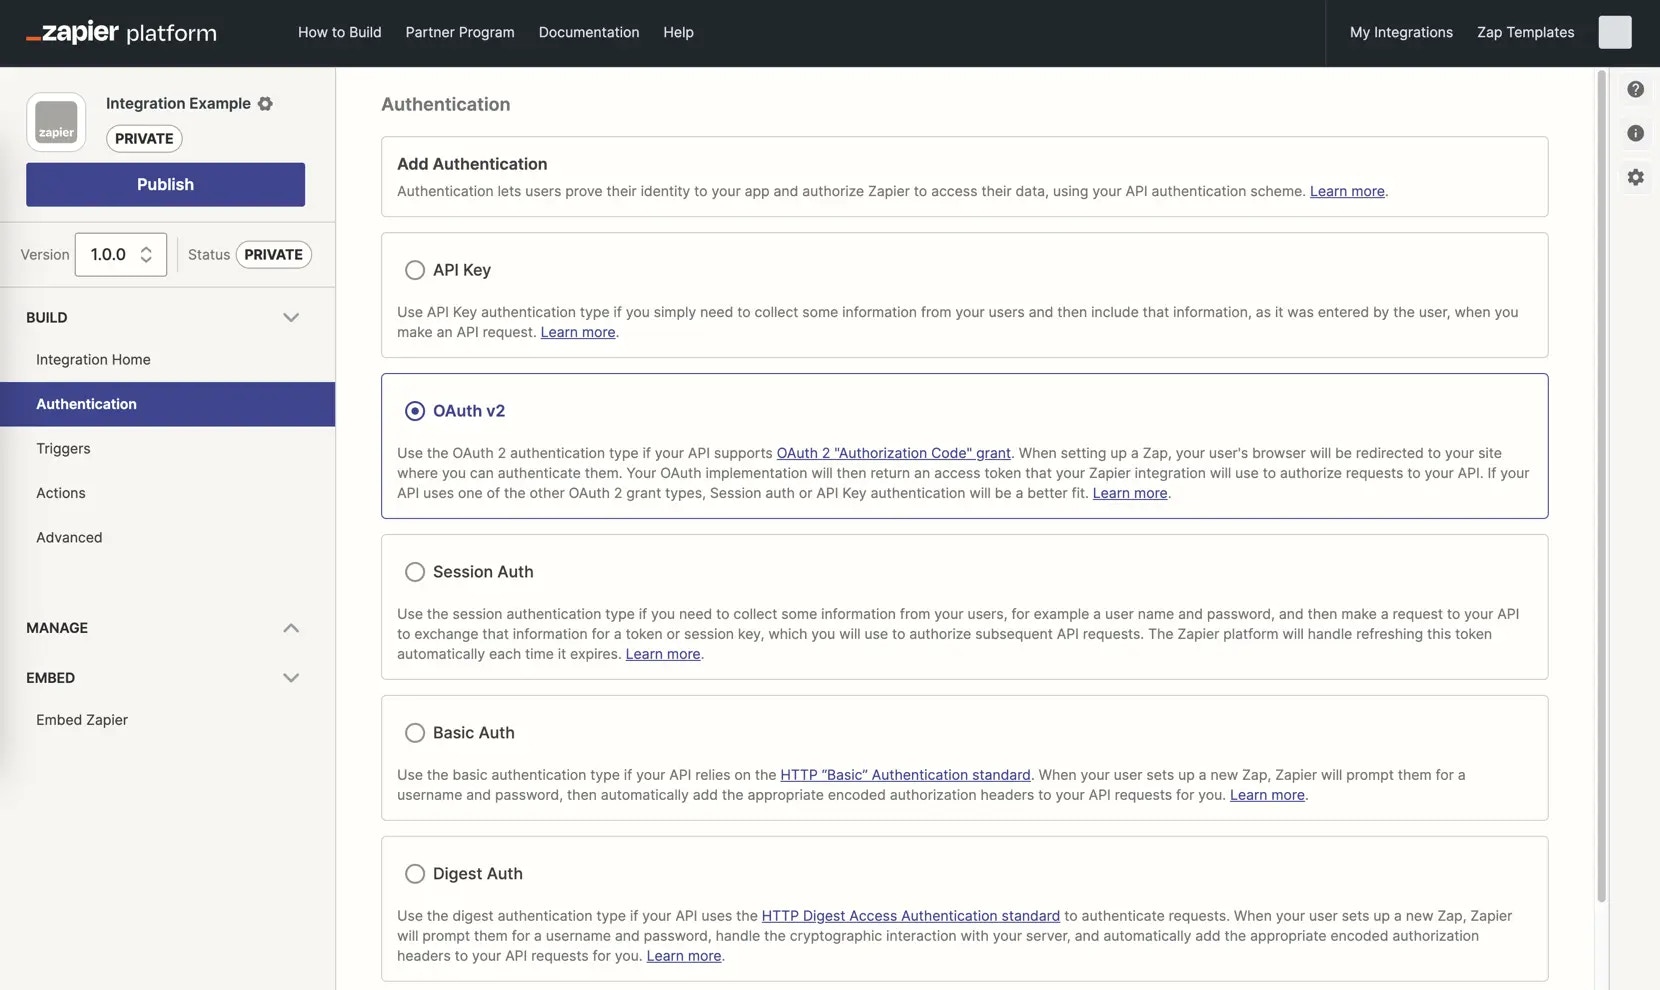
1. Configure the OAuth v2 components
- Open the Authentication tab in Zapier visual builder and select OAuth v2.
Optional input form
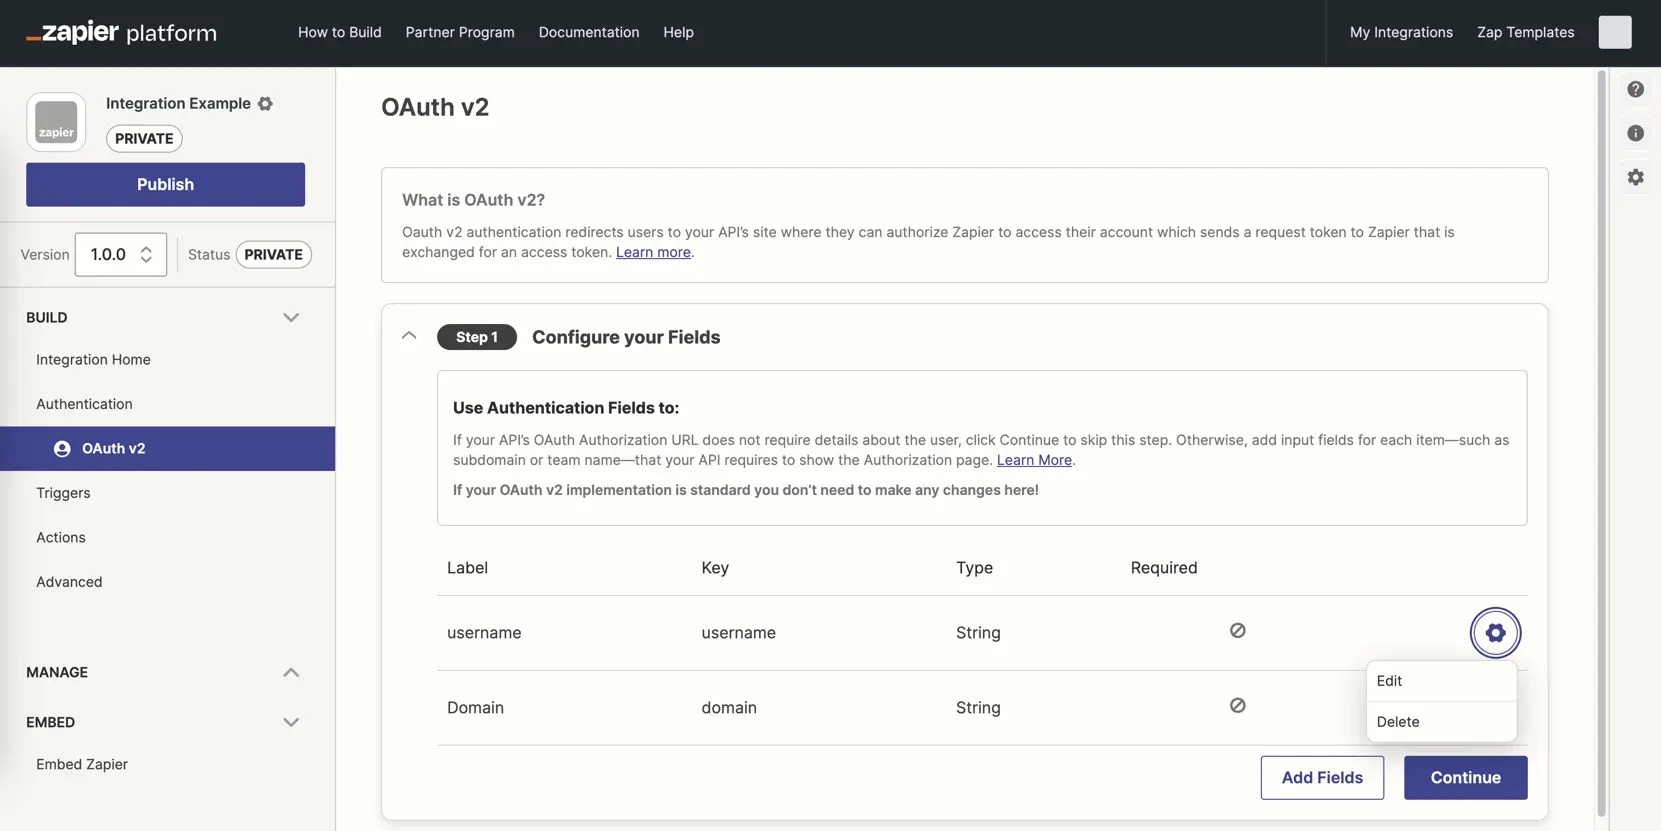
- Most apps with OAuth v2 authentication do not need an input form. If your API requires data from the user before displaying the authorization URL, or requires URL details to create the authorization URL; such as account team name or site URL for self-hosted apps, or you need to store fields received from your server to use in subsequent API calls - you’ll need an input form.
- Add those additional fields by selecting Add Fields and fill in the details for any field requiring user input. This will show a form to users with the fields you’ve added before redirecting them to your authorization URL.
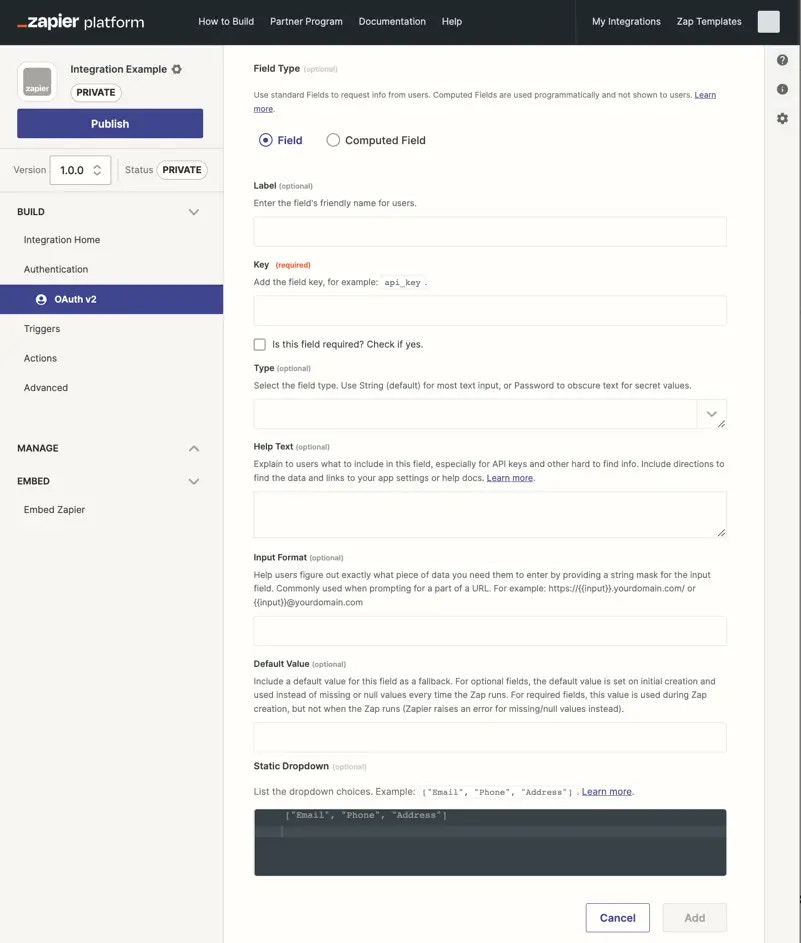
- Two types of fields are available when building an OAuth v2 input form. Standard Fields, work much like other form fields with Zapier’s input form in triggers and actions. Computed Fields make sure specific fields are returned by your app’s authentication API call response.
- For standard fields to be input by the user, select the default Field type. Add the most commonly needed fields first, in the order users expect, as you cannot reorder fields once added. Fill in the options as appropriate:
client_id and client_secret are reserved and cannot be used as keys for input form fields.
– Label: A human-friendly name for this field that will be shown to users in the authentication form.
– Required? (checkbox): Check if this field is required for successful authentication.
– Type: All input fields use the string text field by default; select password instead if you would like to obscure the data as users enter it.
– Help Text: Include details to assist users in authenticating with your app, especially if they may be unsure where to find the data needed within your app. Format text with Markdown, and include a hyperlink if needed.
– Input Format: (optional) Help users figure out exactly what piece of data you need them to enter. For example, for a subdomain, https://.yourdomain.com/.
– Default Value: Include a value for this field to be used as a fallback. For optional fields, the default value is set on initial connection creation and used in the API call instead of missing or null values every time the Zap runs. For required fields, this value is used during connection creation, but not when the Zap runs (Zapier raises an error for missing/null values instead).
- Input fields marked as password and all authentication fields with sensitive, private data such as both username and password from OAuth v2 are automatically censored at runtime. These values are stored in the Auth bundle and used in API calls, but are replaced in Zapier’s logs with a censored value like this
:censored:6:82a3be9927:. Due to this, it is not possible to view the exact tokens or keys in Zapier’s logs. To verify that the same token as was returned by the authentication, is being used in subsequent API calls; you can compare censored value characters, for example:censored:6:82a3be9927:would have the same value ending in 9927 when used in a subsequent call. - Each input field is listed with its label, key, type, and required status in your authentication settings. Click the field to edit it, or click the gear icon and select Delete to remove a field.
- For computed fields, available in OAuth v2 and Session Auth only, review computed fields documentation.
OAuth Redirect URL
- Open your app’s application, integration, or API settings, and add a new application for your OAuth integration with Zapier. From the Zapier Platform UI’s Authentication Copy your OAuth Redirect URL section, copy the OAuth Redirect URL and add it to your application’s integration settings.

- To reference the redirect URL inside your Zapier integration, use the following code:
{{bundle.inputData.redirect_uri}}
Add PKCE Support
- Zapier provides built-in support for PKCE (Proof Key for Code Exchange and pronounced “pick-see”), an extension to the authorization code flow that adds a layer of protection against security vulnerabilities. The code generation and exchange steps of the flow occur automatically by Zapier when enabled.
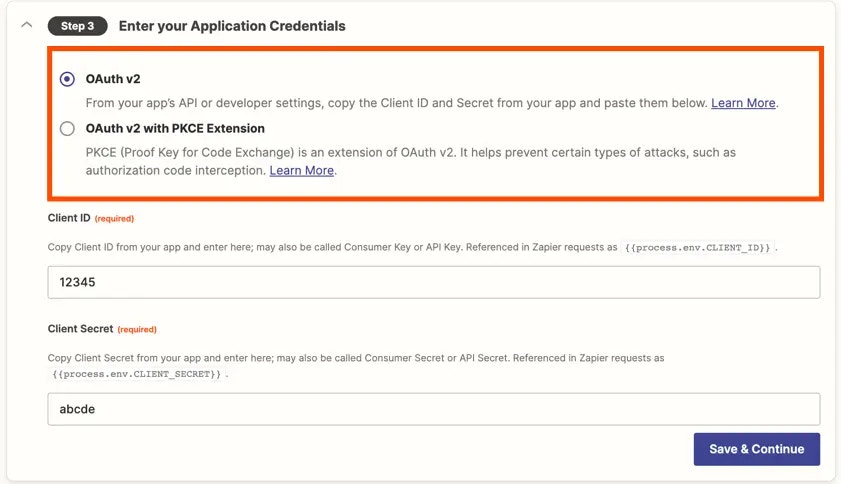
Add Application Credentials to Zapier
- In your application’s settings, you’ll receive credentials that Zapier will use to verify itself to your app — typically called a Client ID and Client Secret, though they may have a slightly different name. Copy that data from your app, then in Step 3 of your Zapier OAuth configuration, paste those items in their respective fields. Zapier will use that data along with the authorization URL to receive the request token.
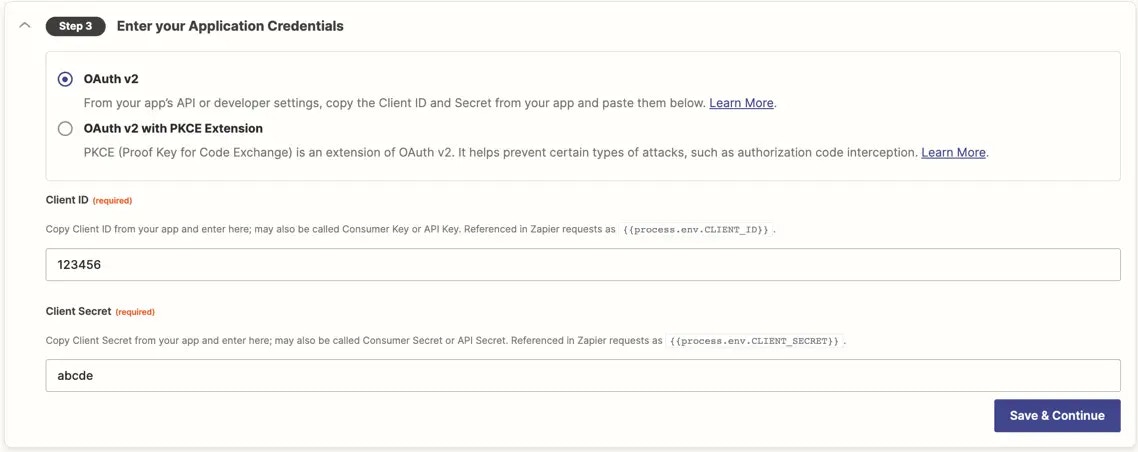
- Click Save & Continue to save your progress so far.
- Zapier automatically includes the Client ID and Secret in authentication API calls, but if you need to reference them in your integration’s API calls or custom code, use the following codes: – Client Secret:
{{process.env.CLIENT_SECRET}}– Client ID:{{process.env.CLIENT_ID}}
Add OAuth Endpoint Configuration
- Add your application’s Authorization URL, where Zapier will redirect users to authenticate with your app. Copy this URL from your application or integration settings where you copied the client ID and secret previously, or from your app’s API page.
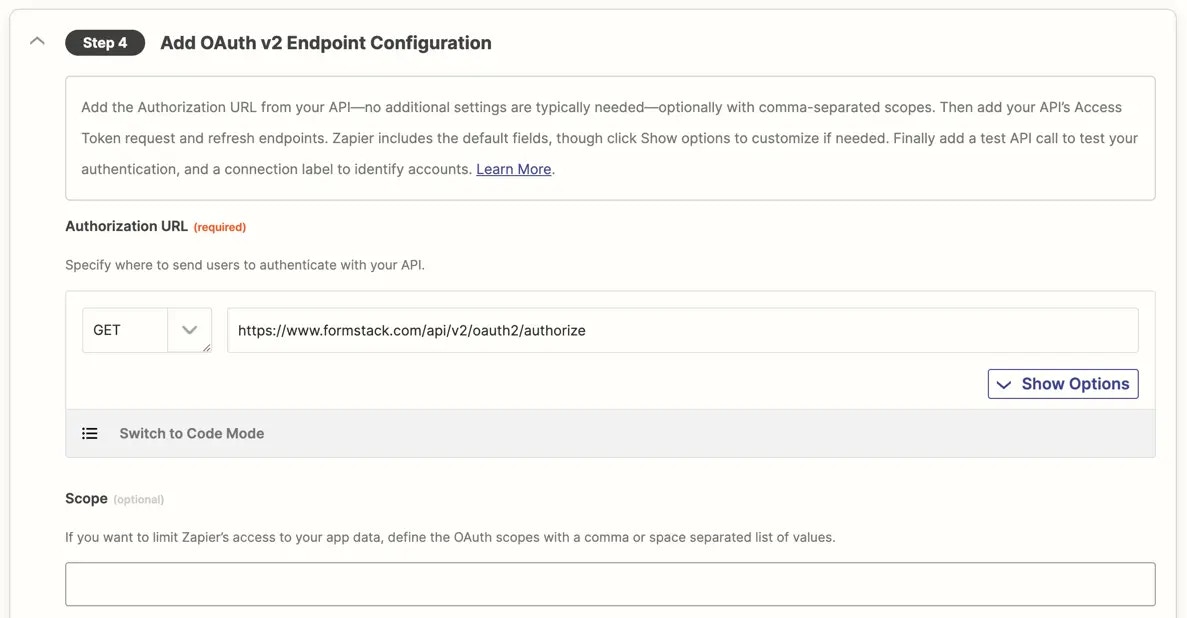
- By default, Zapier will pass the client ID, state, redirect URI, and a standard
coderesponse type as URL Params in the request to the authorization url. If you need to change that, click the Show Options button and add any additional call details needed.
Note: The OAuth2stateparameter is a standard security feature that helps protect against CSRF and other authorization attacks. Zapier automatically generates astatevalue and includes it in the authorization request. Your app must return this exactstatevalue unchanged as a query parameter when redirecting the user back to Zapier’s redirect URL after authorization. Zapier validates that the returnedstatematches the original value, and the authorization flow will fail if it does not. This validation is required and cannot be disabled. The generatedstatevalue is available atbundle.inputData.state.
- To optionally limit Zapier’s scope to let it only access specific data from your app, add OAuth scopes in the Scope field with a comma- or space-separated list.
- Add your app’s Access Token Request URL from your API documentation, typically with a
POSTcall.
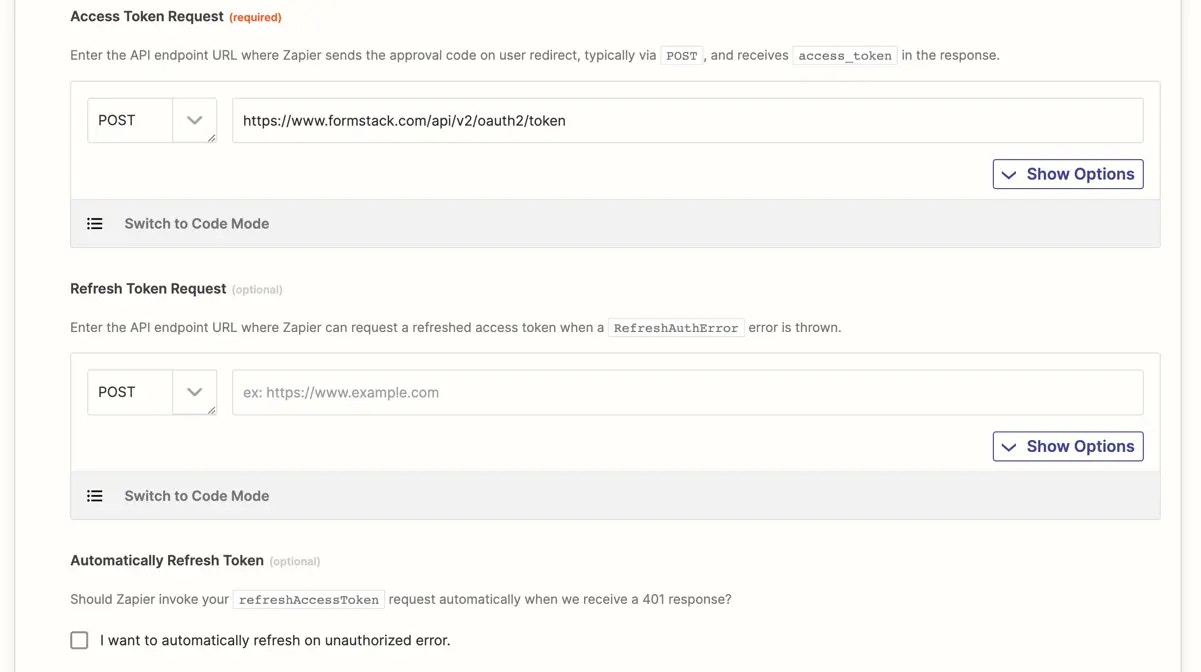
- By default, Zapier will pass the client ID, client secret, authorization code, redirect URI, and a standard
authorization_codegrant type in the API request body with the access token request. If you need to change that, click the Show Options button and add any additional call details needed. - If your API supports automated token refresh, add your API’s Refresh Token Request URL, and check the Automatically Refresh Token box. This enables users’ Zap workflows to run in the background without interruptions as long as possible by refreshing expired access tokens automatically.
- If your Access Token and Refresh Token requests don’t return the tokens at the top level, use Code Mode to modify the response so that the tokens are available at the top level. It is not possible to store an object with nested keys from the response.
- Zapier will automatically include the access token in subsequent API requests, but if you need to manually add it, the access token is stored in the
authDatabundle and can be referenced with{{bundle.authData.access_token}}or{{bundle.authData.accessToken}}, depending on how your API’s response references the access token.
2. Add a Test API Request
- Add an API call to your API that requires no configuration, typically a
/useror/mecall. Add the URL for the API call, and set the call type, typically aGET. This will test the user-entered credentials to ensure it enables a successful API call to your app.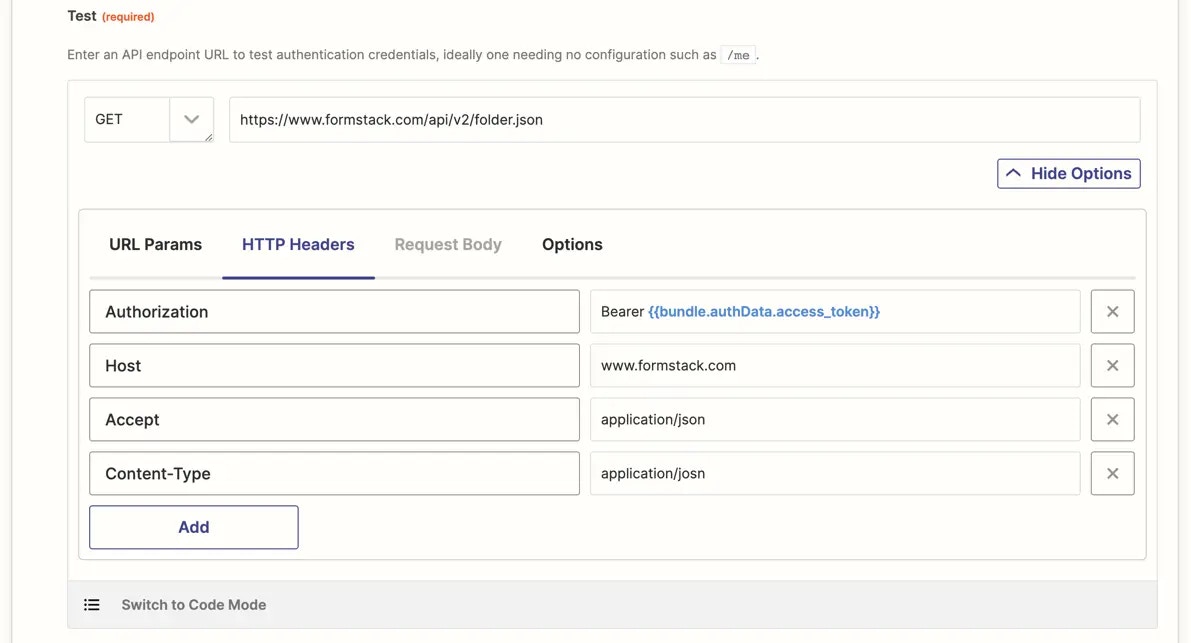
- The access token is included with the API call by default, as it will with all subsequent API calls, but if your API requires any additional configuration, click the Show Options button and add any options needed for a successful API call.

- To customize the test API request, select Switch to Code Mode and write custom JavaScript code to handle your test API call and the response parsing as needed. The first time you click the toggle, Zapier will convert your API call to code. If you switch back to Form Mode though, Zapier will not convert your code changes to the Form Mode, nor will any subsequent changes in the form be added to your code.
3. Configure a Connection Label
Review connection label documentation to optionally differentiate the app accounts users connect.4. Test your authentication
Connect a valid user account to test authentication.Video Tutorial
You can also refer to this video on implementing OAuth v2 in your Zapier integration:Need help? Tell us about your problem and we’ll connect you with the right resource or contact support.